How to Have A Successful First Wedding Shoot

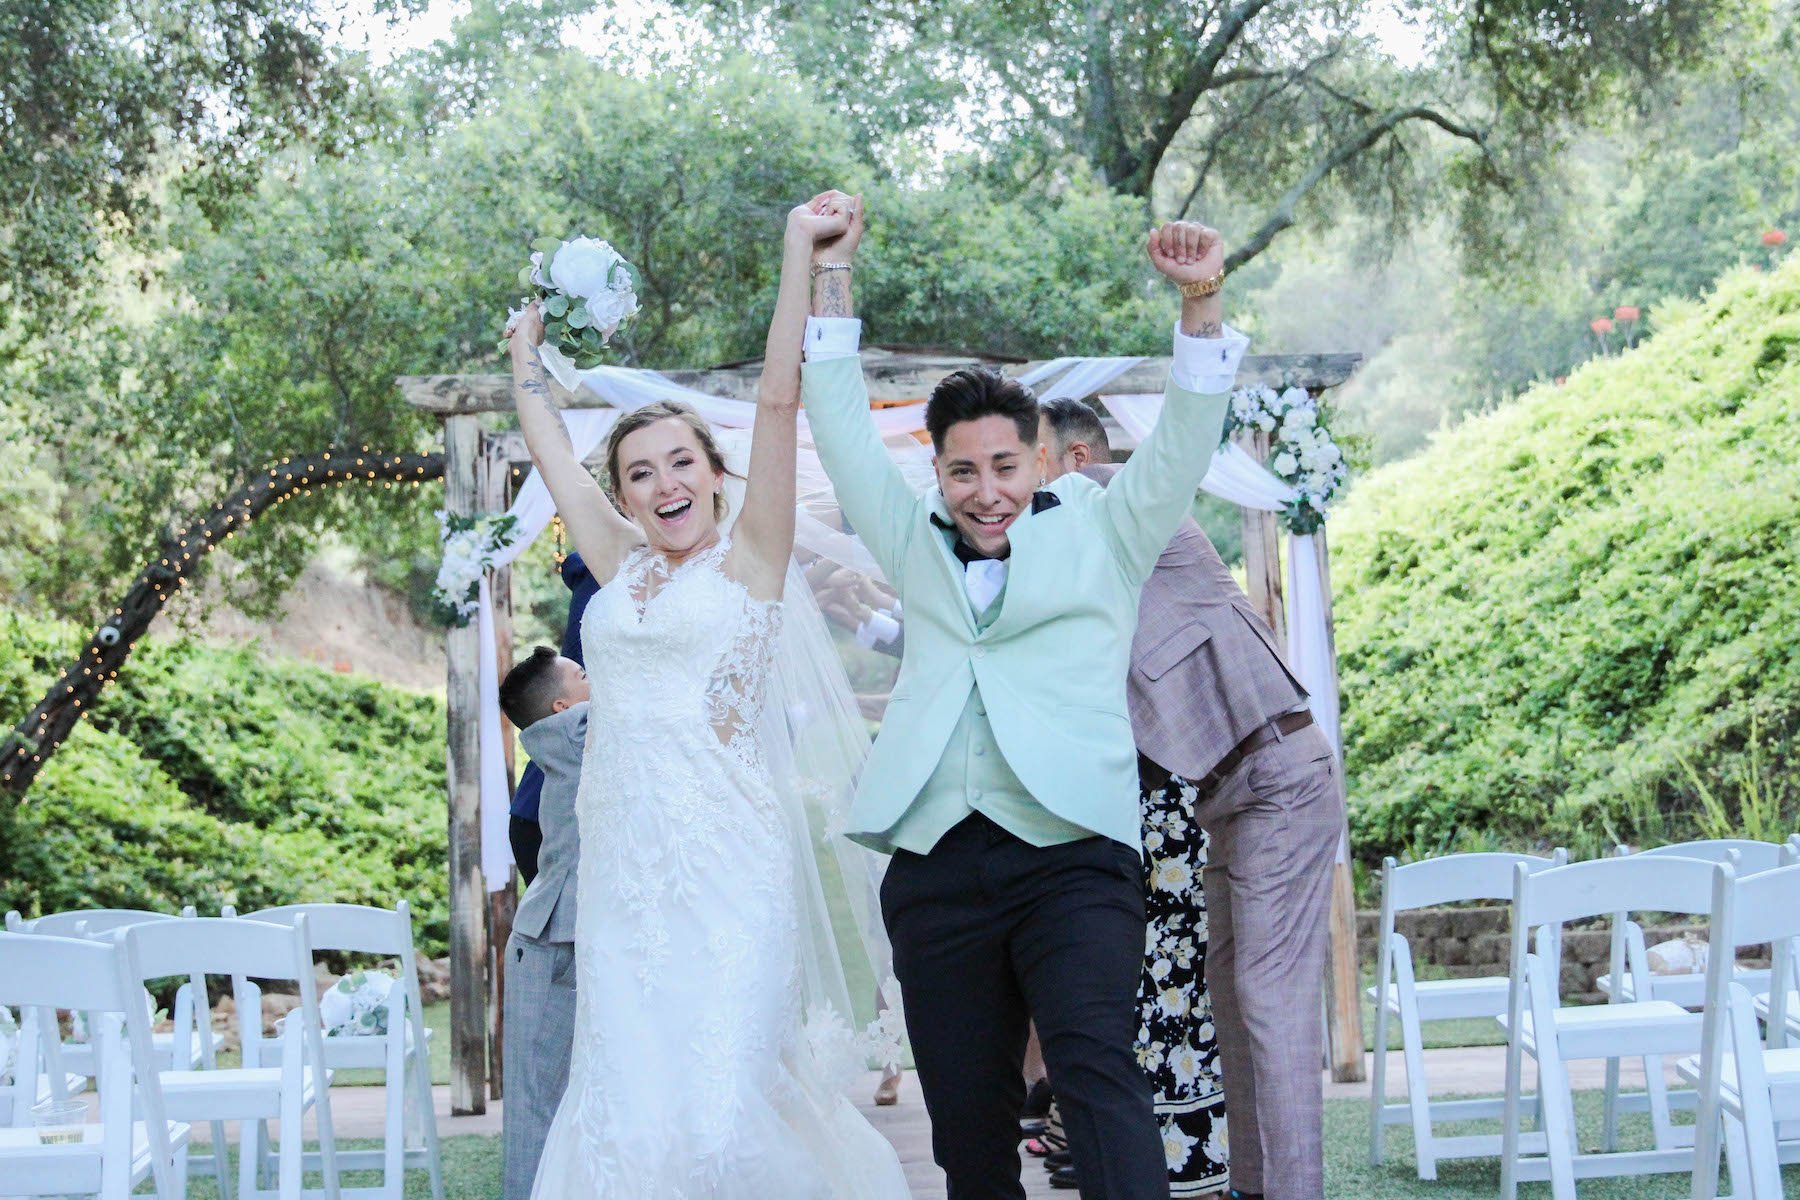
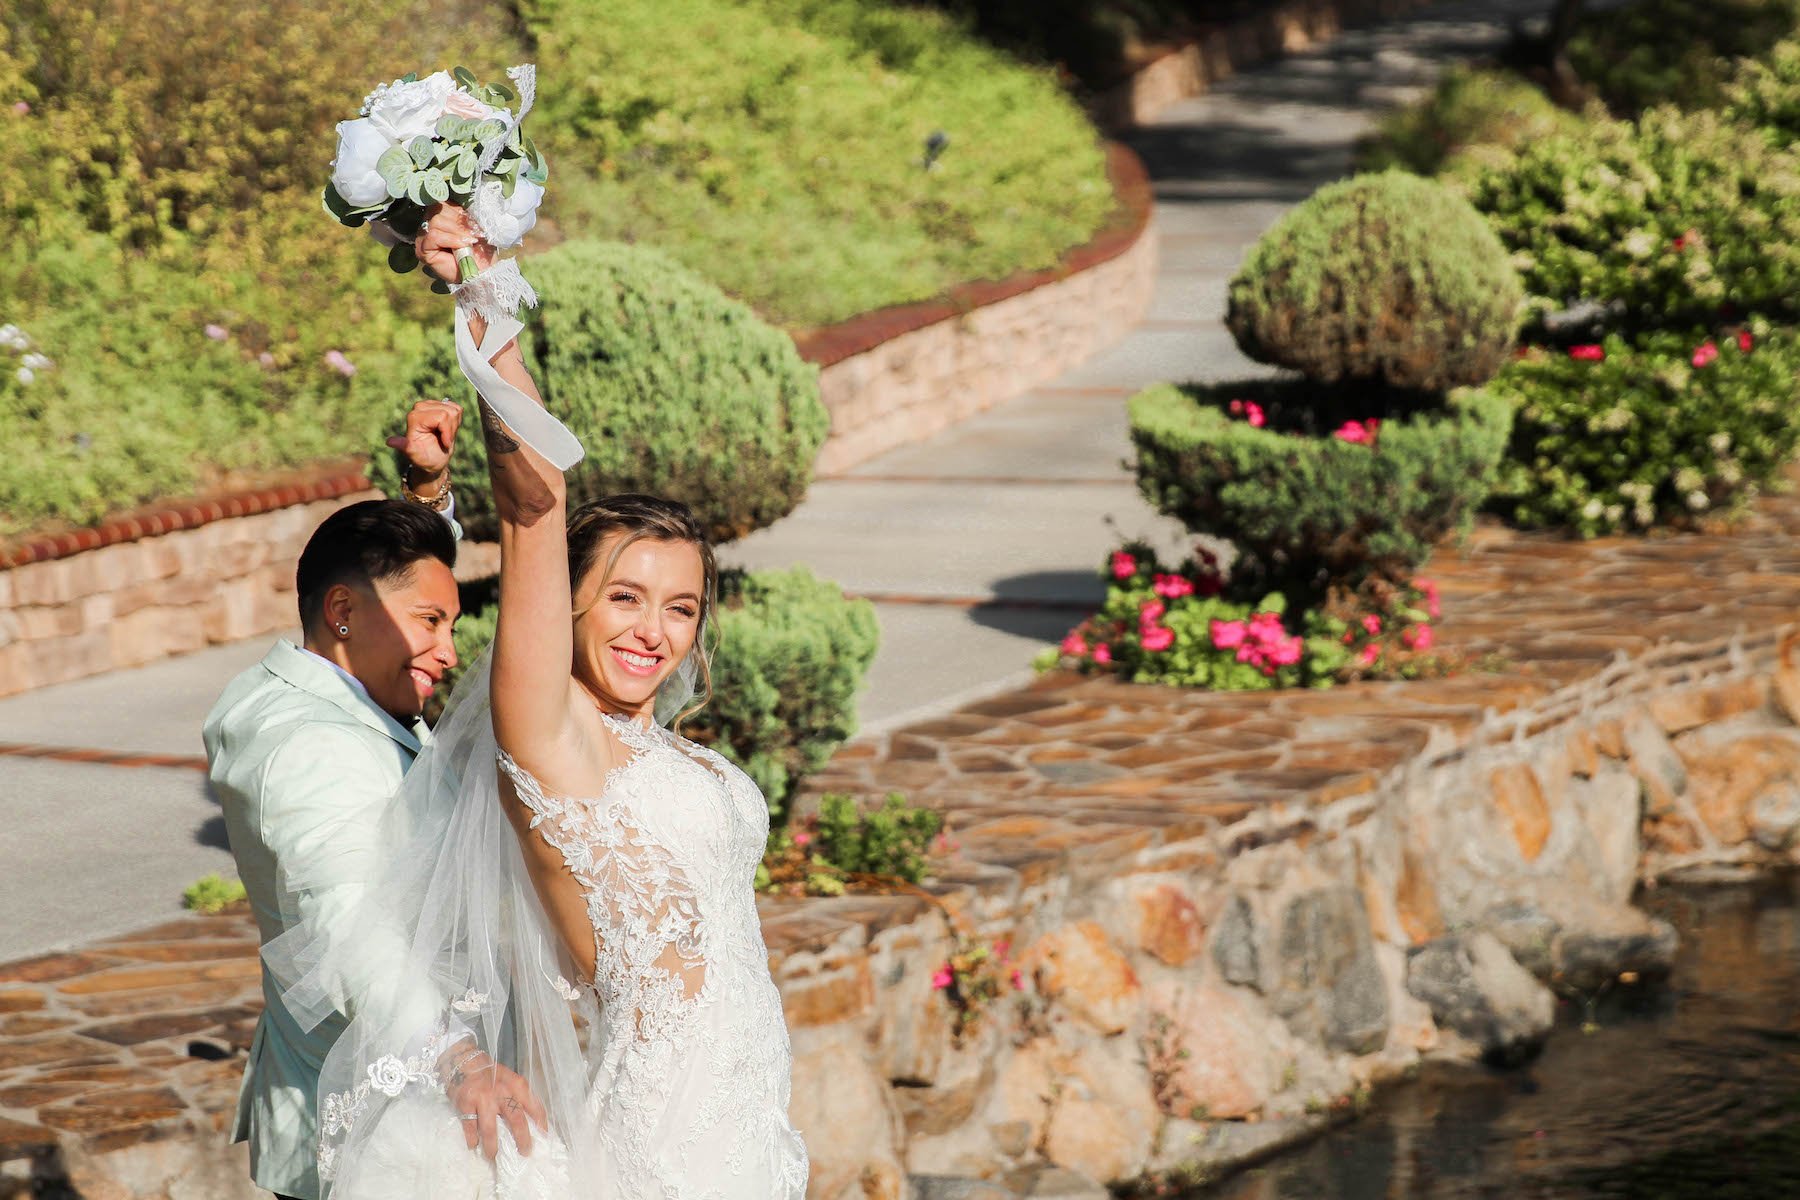
Photo by Kayla Cook
So, you were approached to shoot your first wedding. Now what? Here you’ll find the basics on how to have a successful first wedding shoot as an independent small business photographer.
A wedding has multiple vendors involved, each specializing in their own fortes to make the day run smoothly. These vendors work to bring to life a magical memory for those to be wed and their loved ones. As a photographer, you are the vendor with the honor of capturing the collective preparation and planning of the day! In a way, the other vendors are your clientele in addition to your clients tying the knot and their friends and family. Hopefully the vendors you are working with view you as a kind of client of theirs as well! Although you cannot guarantee a smooth collaboration with the other hired vendors, what you can do is put your best foot forward by being socially welcoming and understanding that they have a job to complete too: to create a beautiful day for the couple and their guests. Here’s some guidance on how to play your part:
1. Create a Contract
Write in detail all aspects of the wedding that apply to photographers—I'm talking all aspects: the parties involved, the consideration, the services, wedding location and date and time (if the couple has that information available at the time of your meeting), contact information, payment details, other terms and conditions like a wedding itinerary and the date you will provide the final edits, copyright details, information in the event of cancellation, a statement on possible amendments to the contract, of course the signatures/e-signatures, and whatever else you and your clients deem necessary. The contract will make you feel comfortable in taking on the event as, well, weddings are *kind of a big deal.* Another business-y side of wedding photography to take care of is insurance. The venue will probably require proof of business insurance, and I advise purchasing your policy sooner than later.
Photos by Kayla Cook
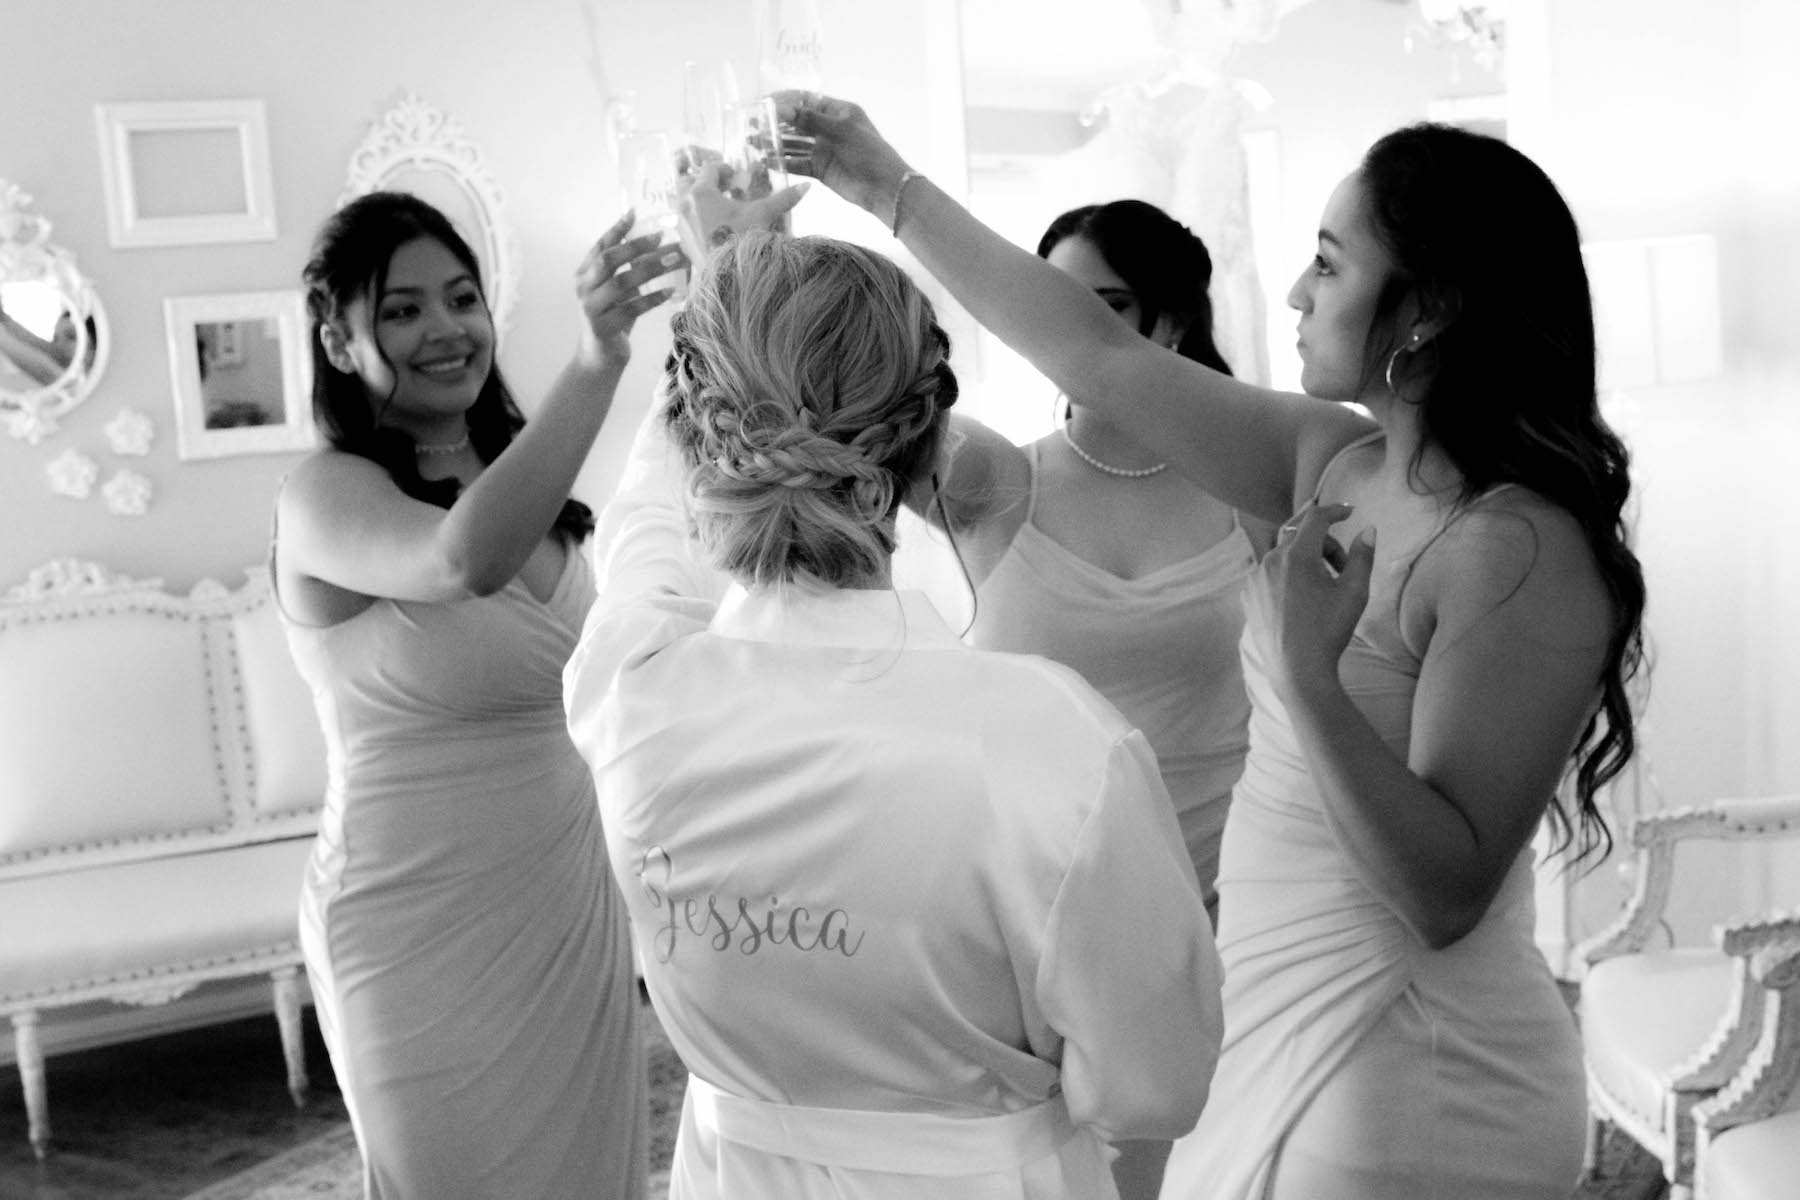
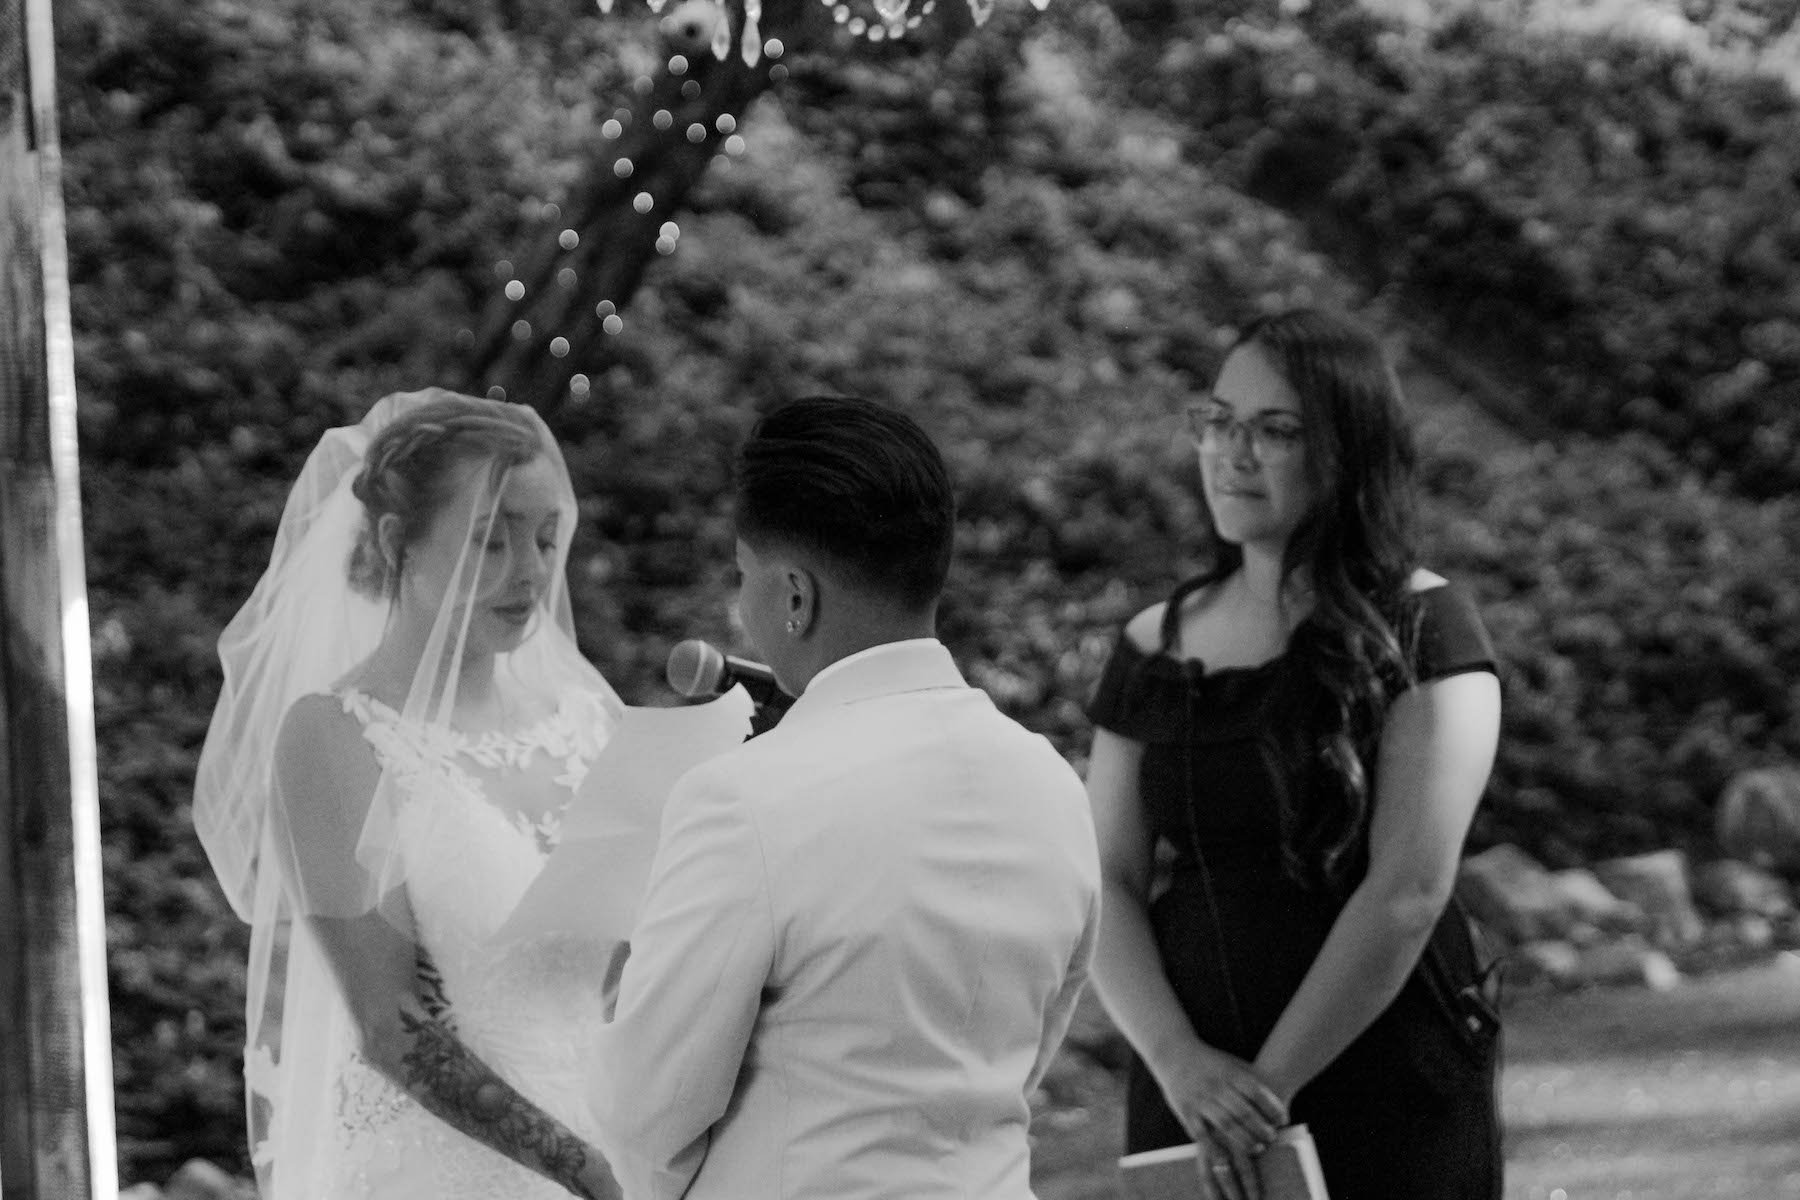
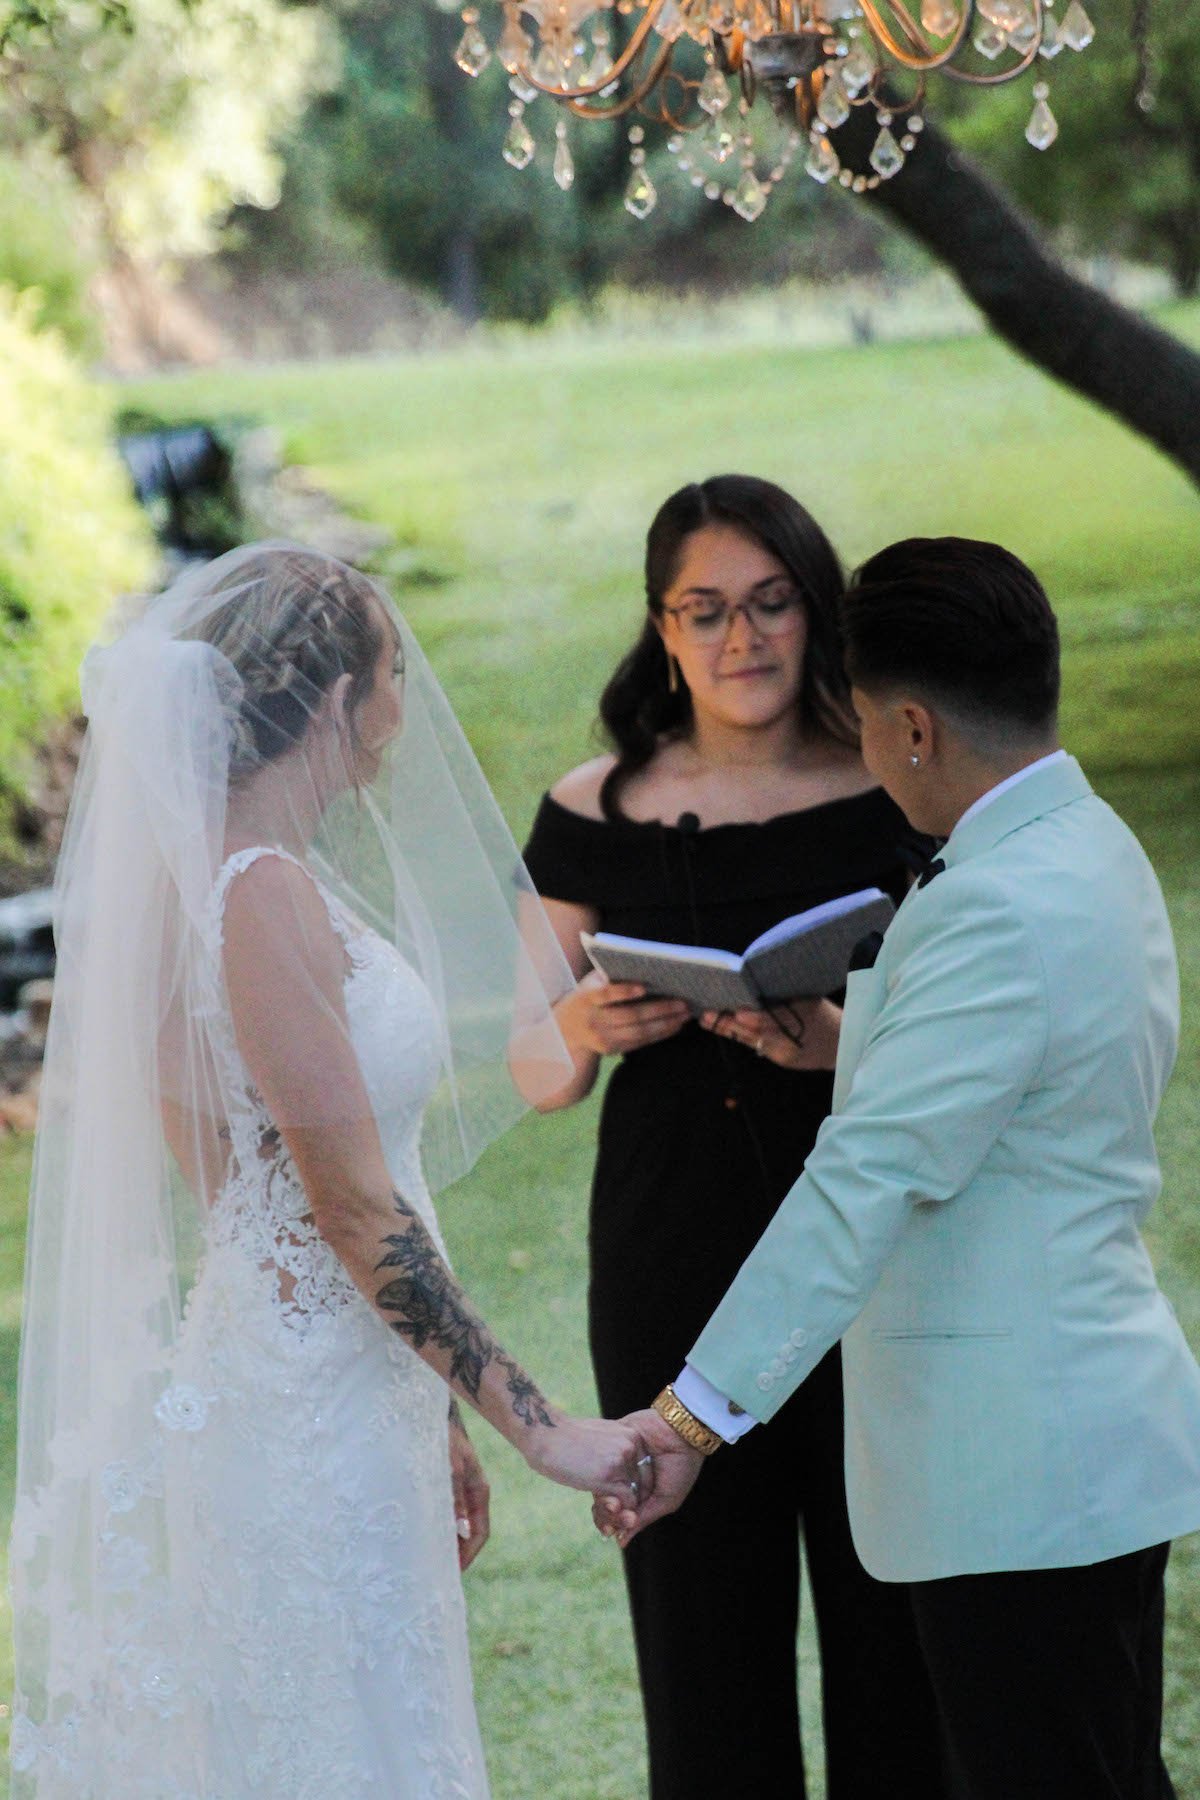
2. Know your Clients
You've all signed off on the contract—it's official! It's happening! Now is the time to schedule a meeting with your clients (and your team if applicable.) My second shooter, Andy, and I met with our clients a few months before the wedding to discuss client expectations and their developing wedding plans. We reviewed the contract, discussed a wedding itinerary and shared inspiration photos, and essentially covered all expectations of services. This check-in helps you get to know your clients better and finalize more aspects of the event date. I already worked with my clients on a couple session and bridal shower session, but if you have not worked with your client prior to being approached to capture the wedding, this is also a great time to ask about how they met and learn their personalities!
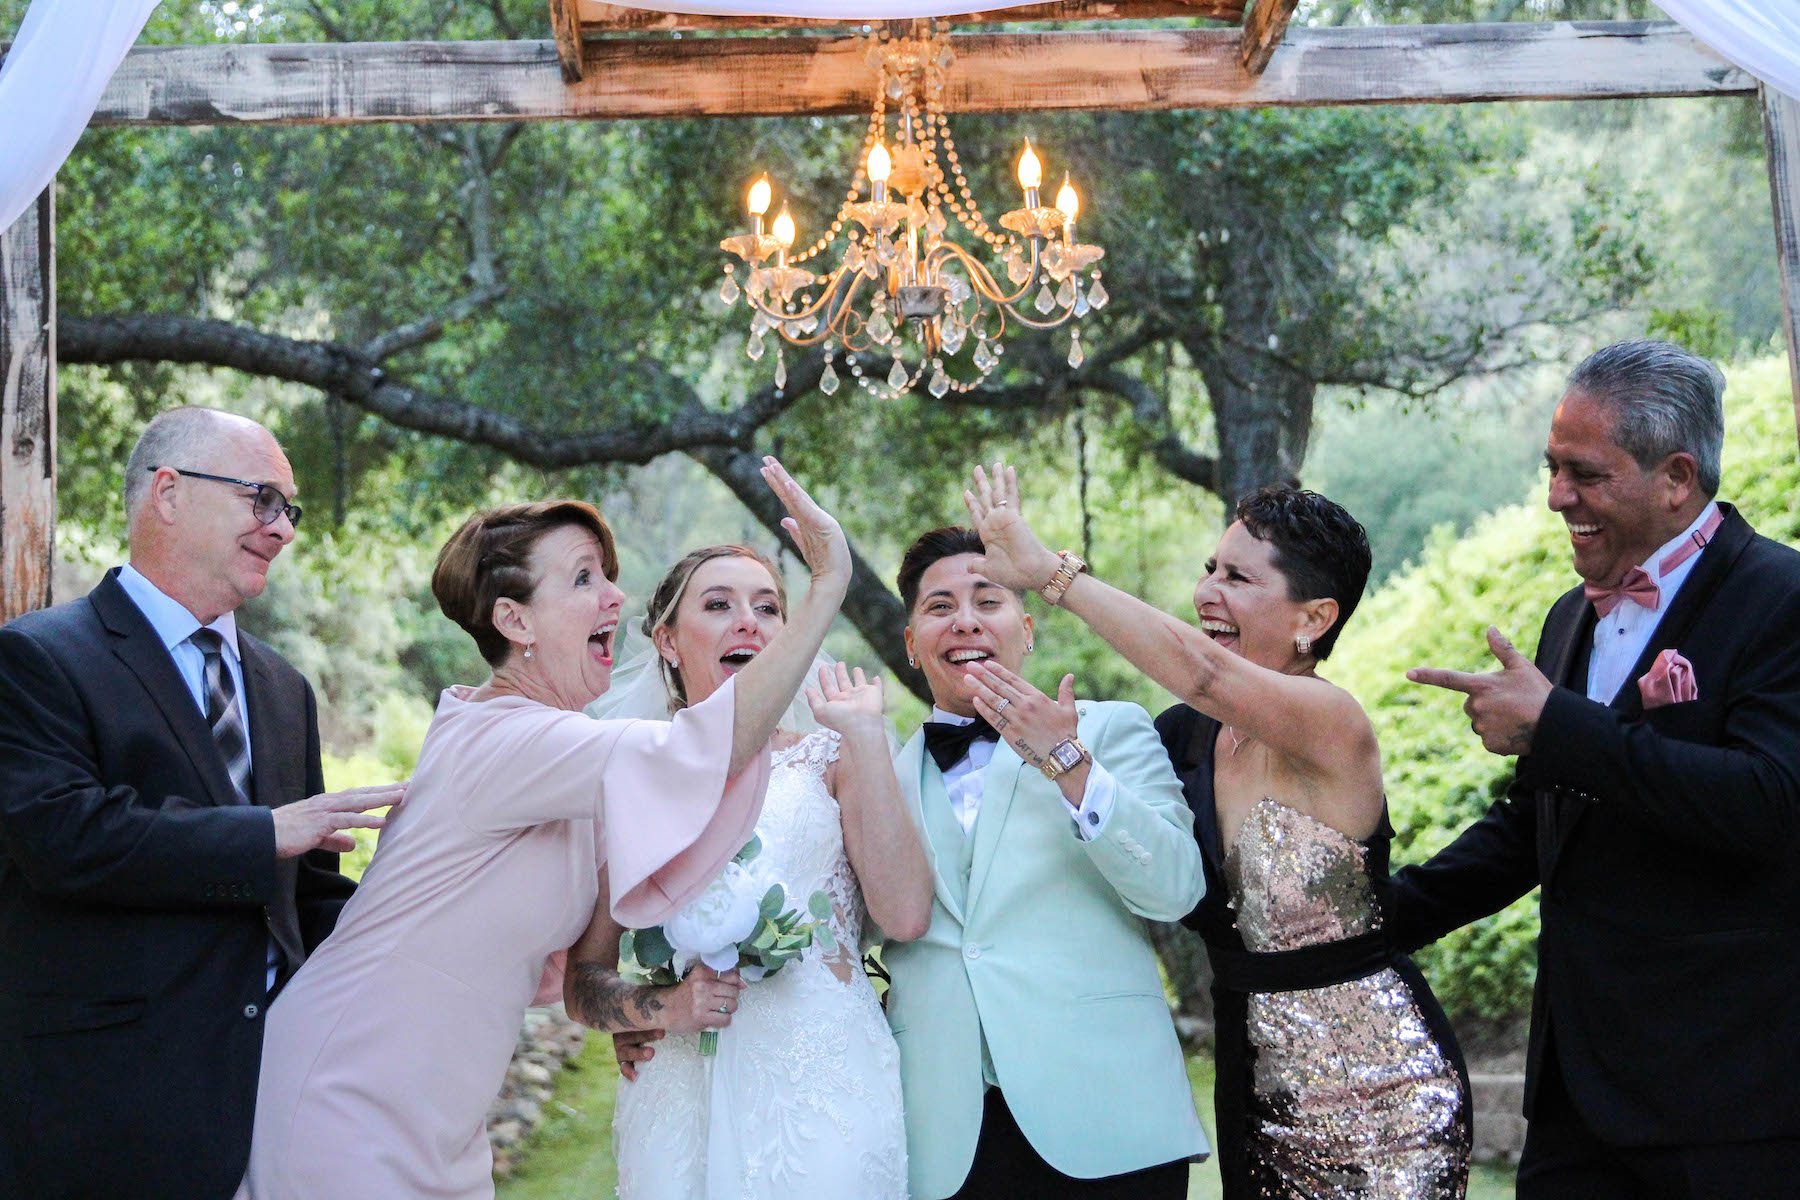
Photos by Kayla Cook
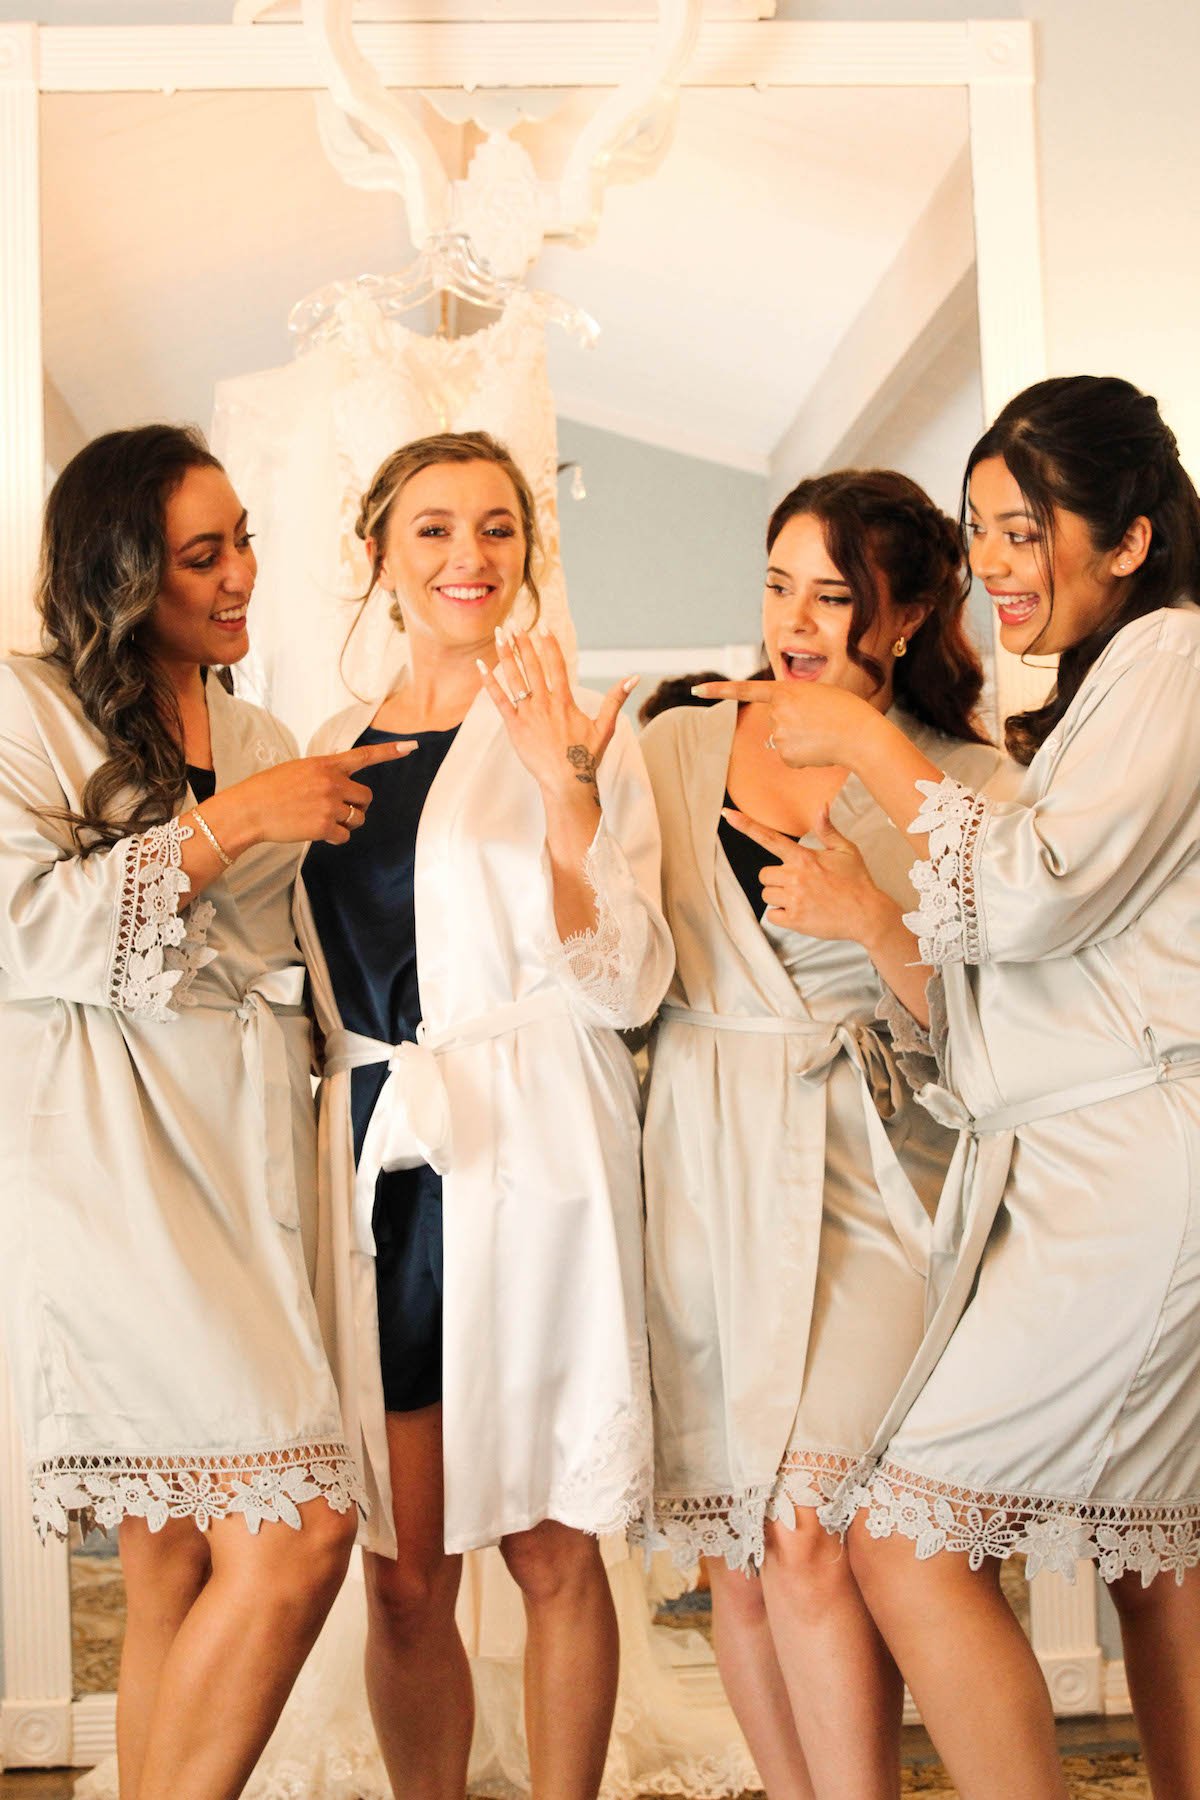
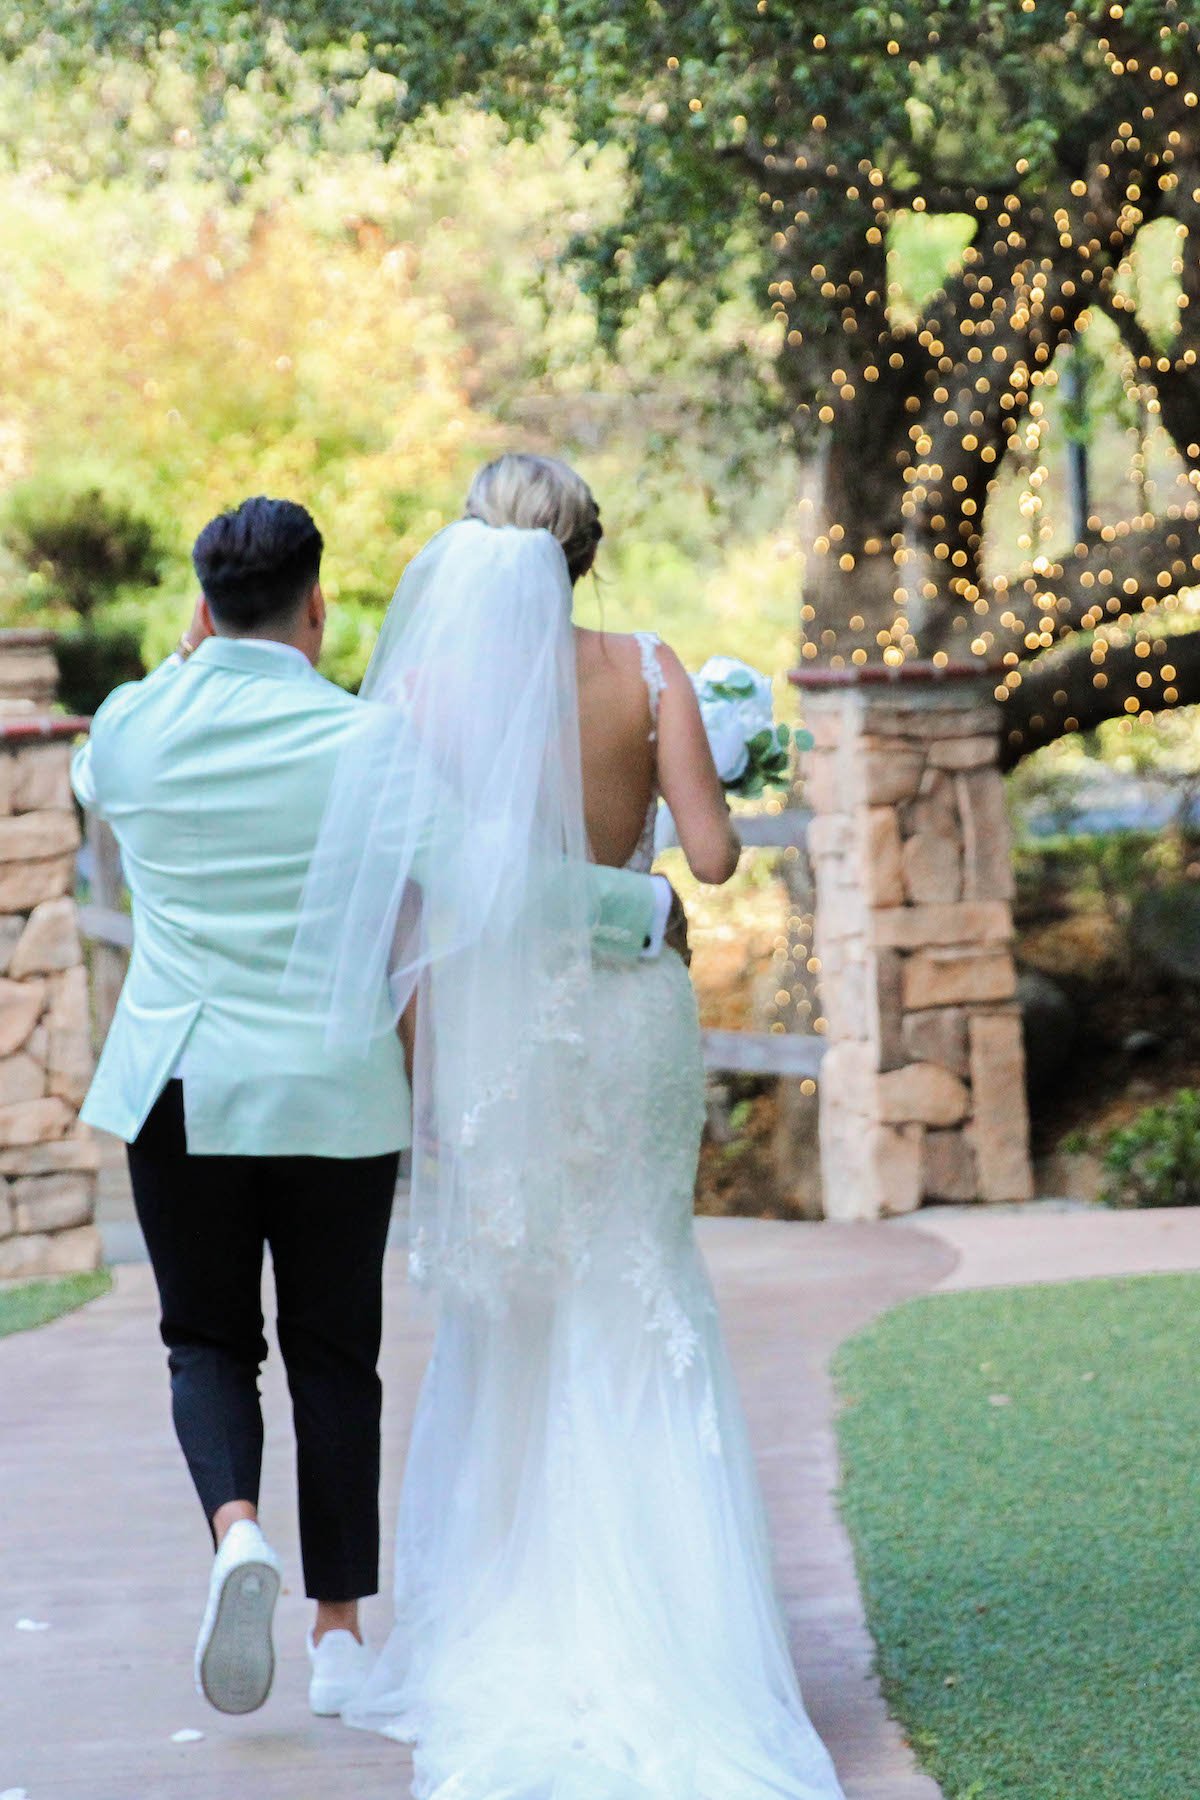
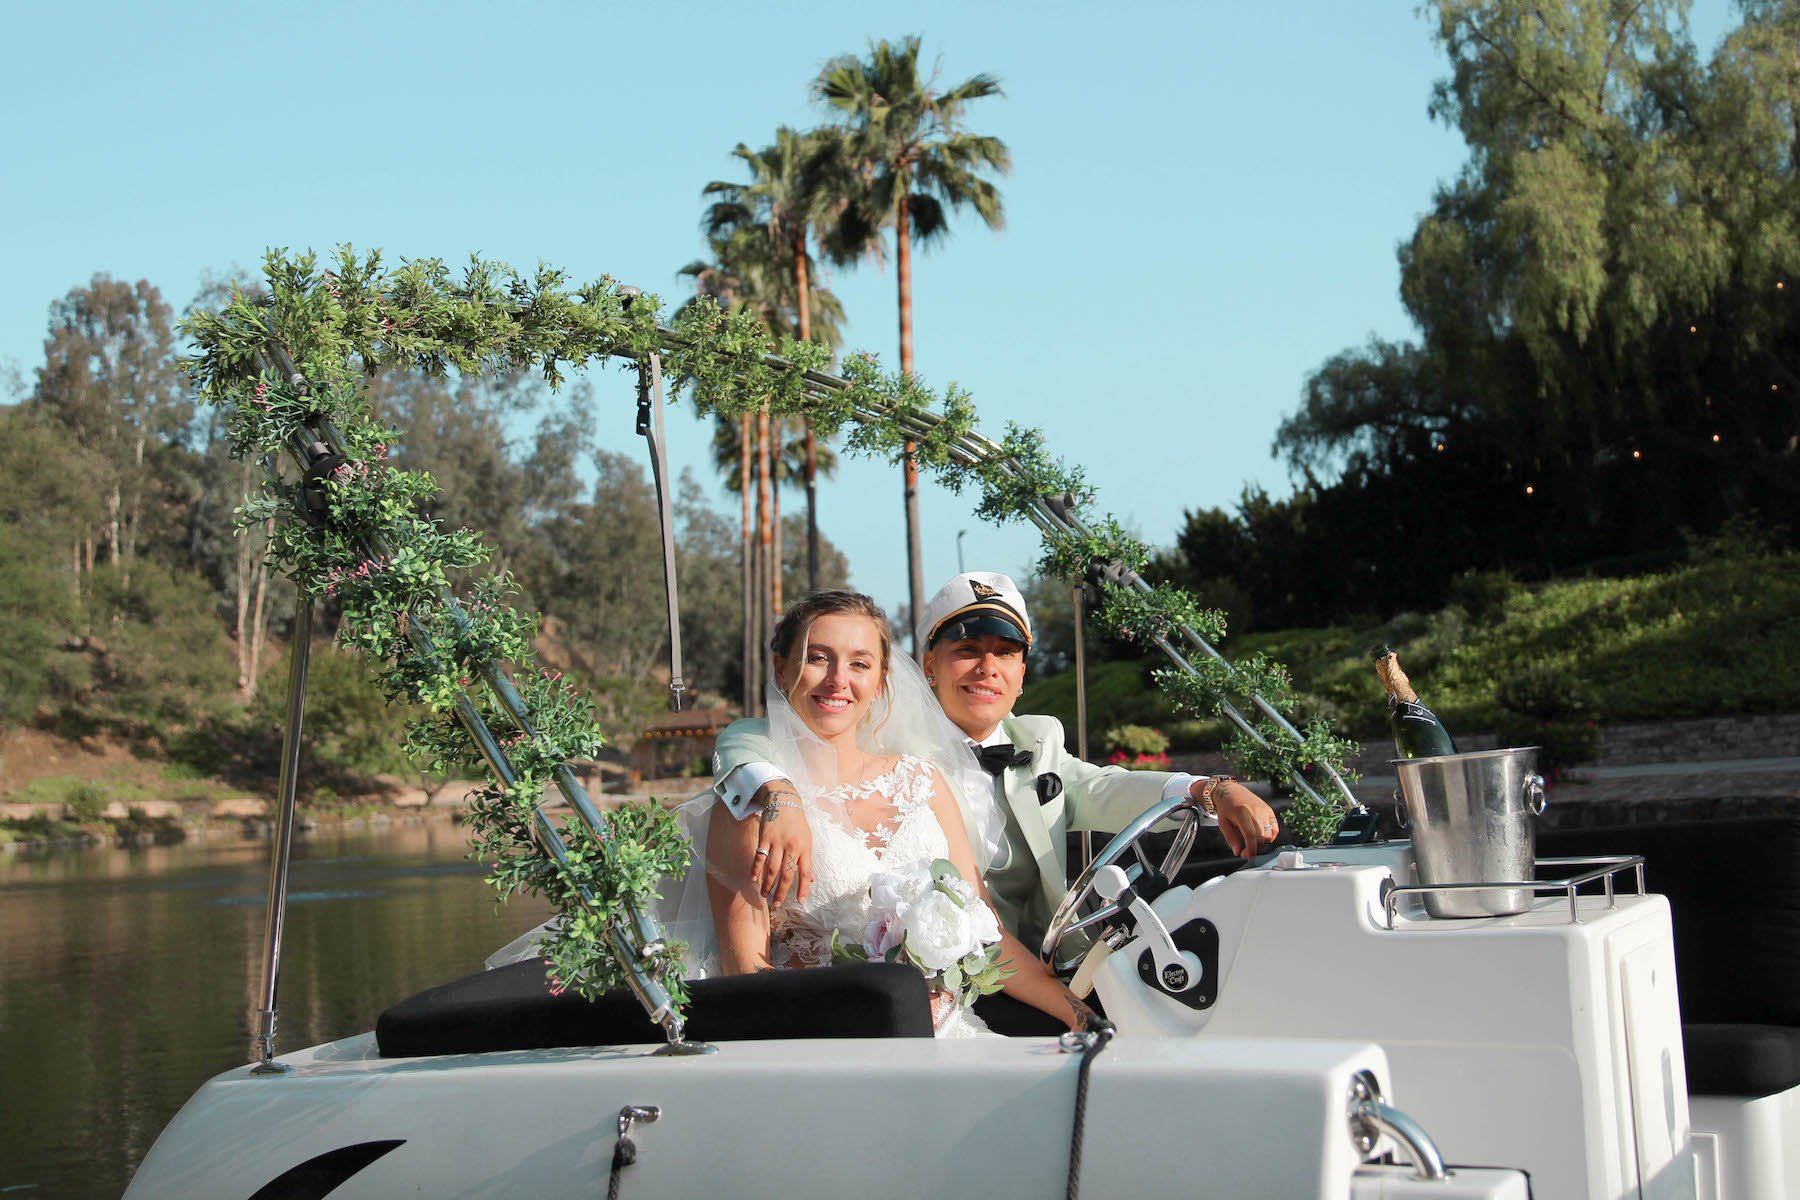
3. Plan, Plan, Plan
As with most art forms, sure, you may have a natural knack—an eye for a pleasant photograph—but it helps to learn from the people who notably do it best. I searched a variety of sources: newspaper articles, wedding photo books, YouTube videos, Pinterest, and even wedding albums of my Facebook friends who were recently married. As someone who doesn't frequent weddings often, this step probably took up the highest percentage in leading up to my first wedding shoot to understand the feel of a wedding realistically as opposed to what I gathered from rom-coms over the years. I reviewed the expectations of my clients and incorporated a few of my own concepts but ultimately the clients' expectations should be met before your own experimental shots for your portfolio. Hours before the wedding, I reviewed the list of expected photographs to mentally prepare, like reviewing for an exam. This method may not work for everyone, but as someone who loves lists and preparation, it worked out for me! Especially, again, for a first wedding shoot, photographing the largest group of people I ever have. Staging and capturing organic shots will come more naturally with practice across all types of photography.
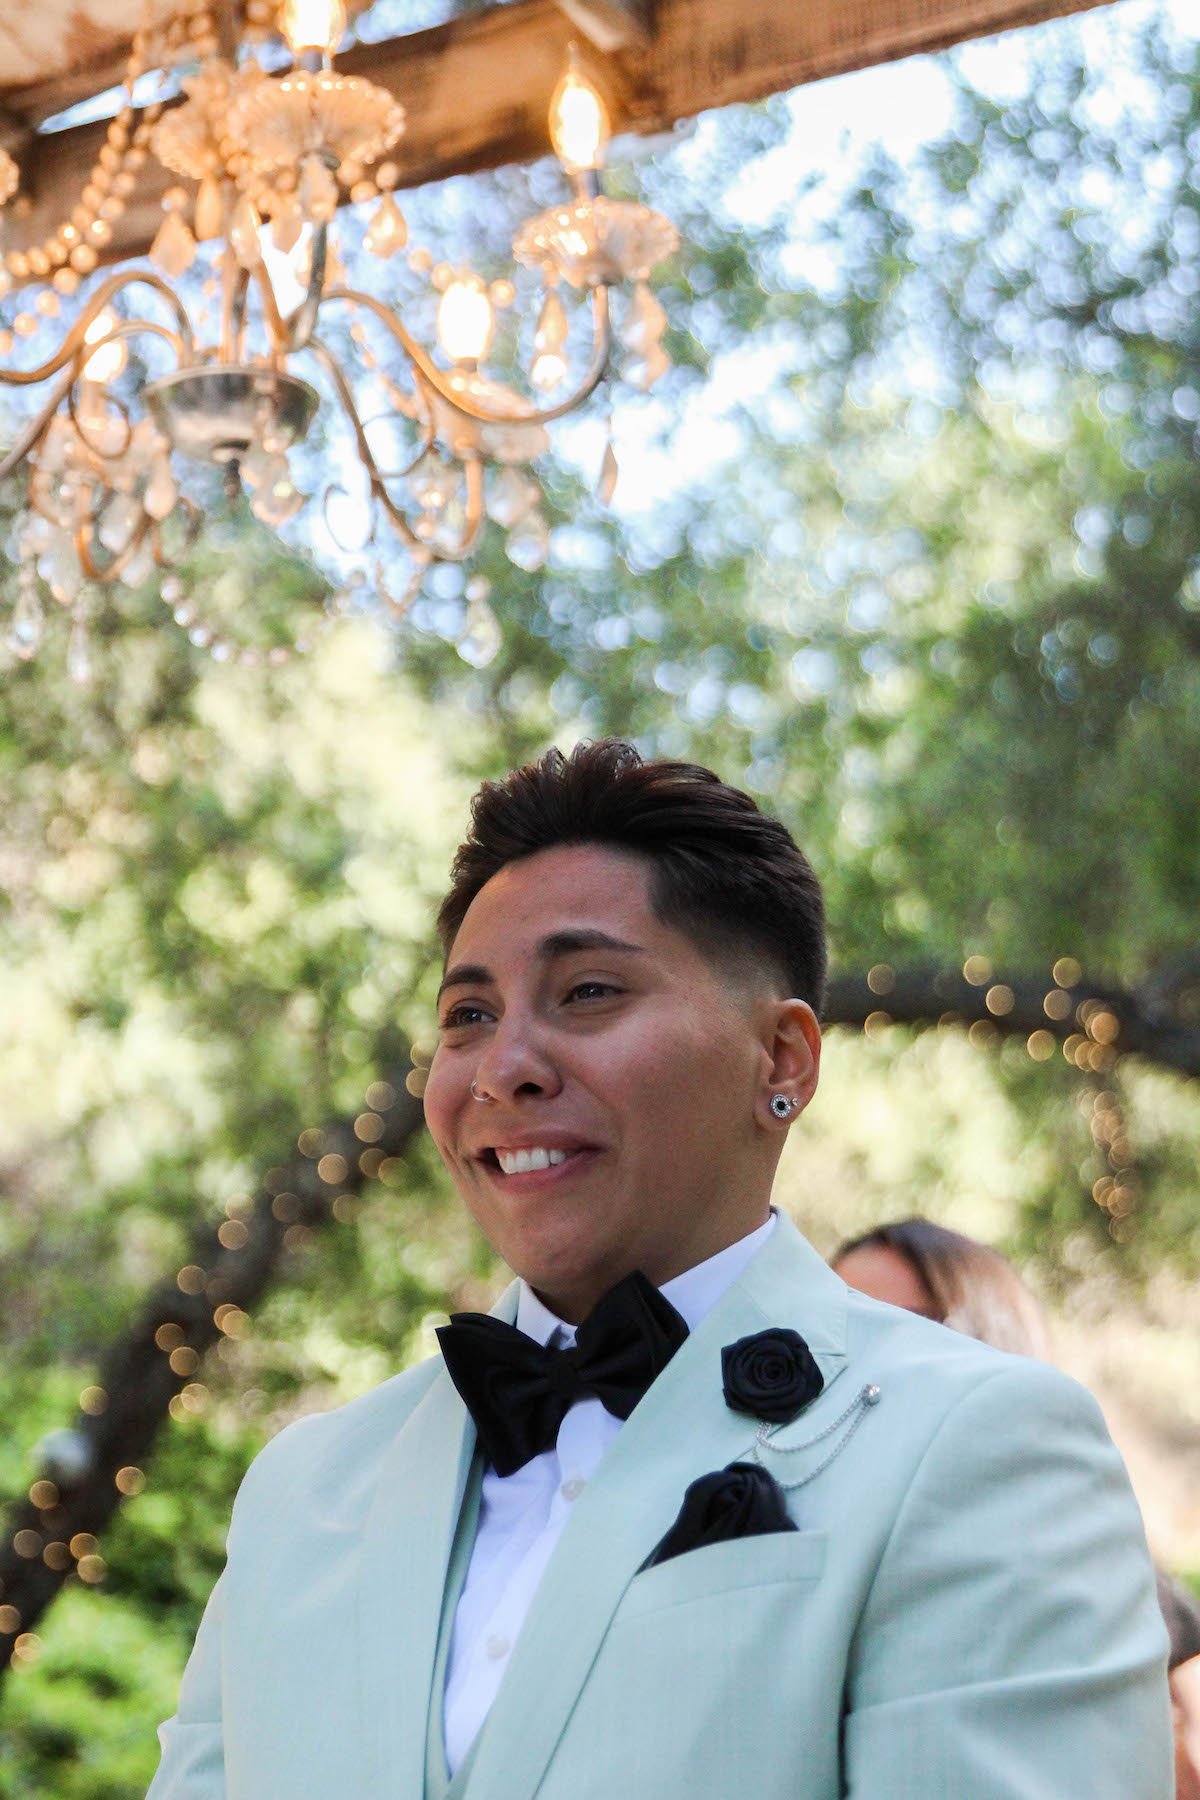

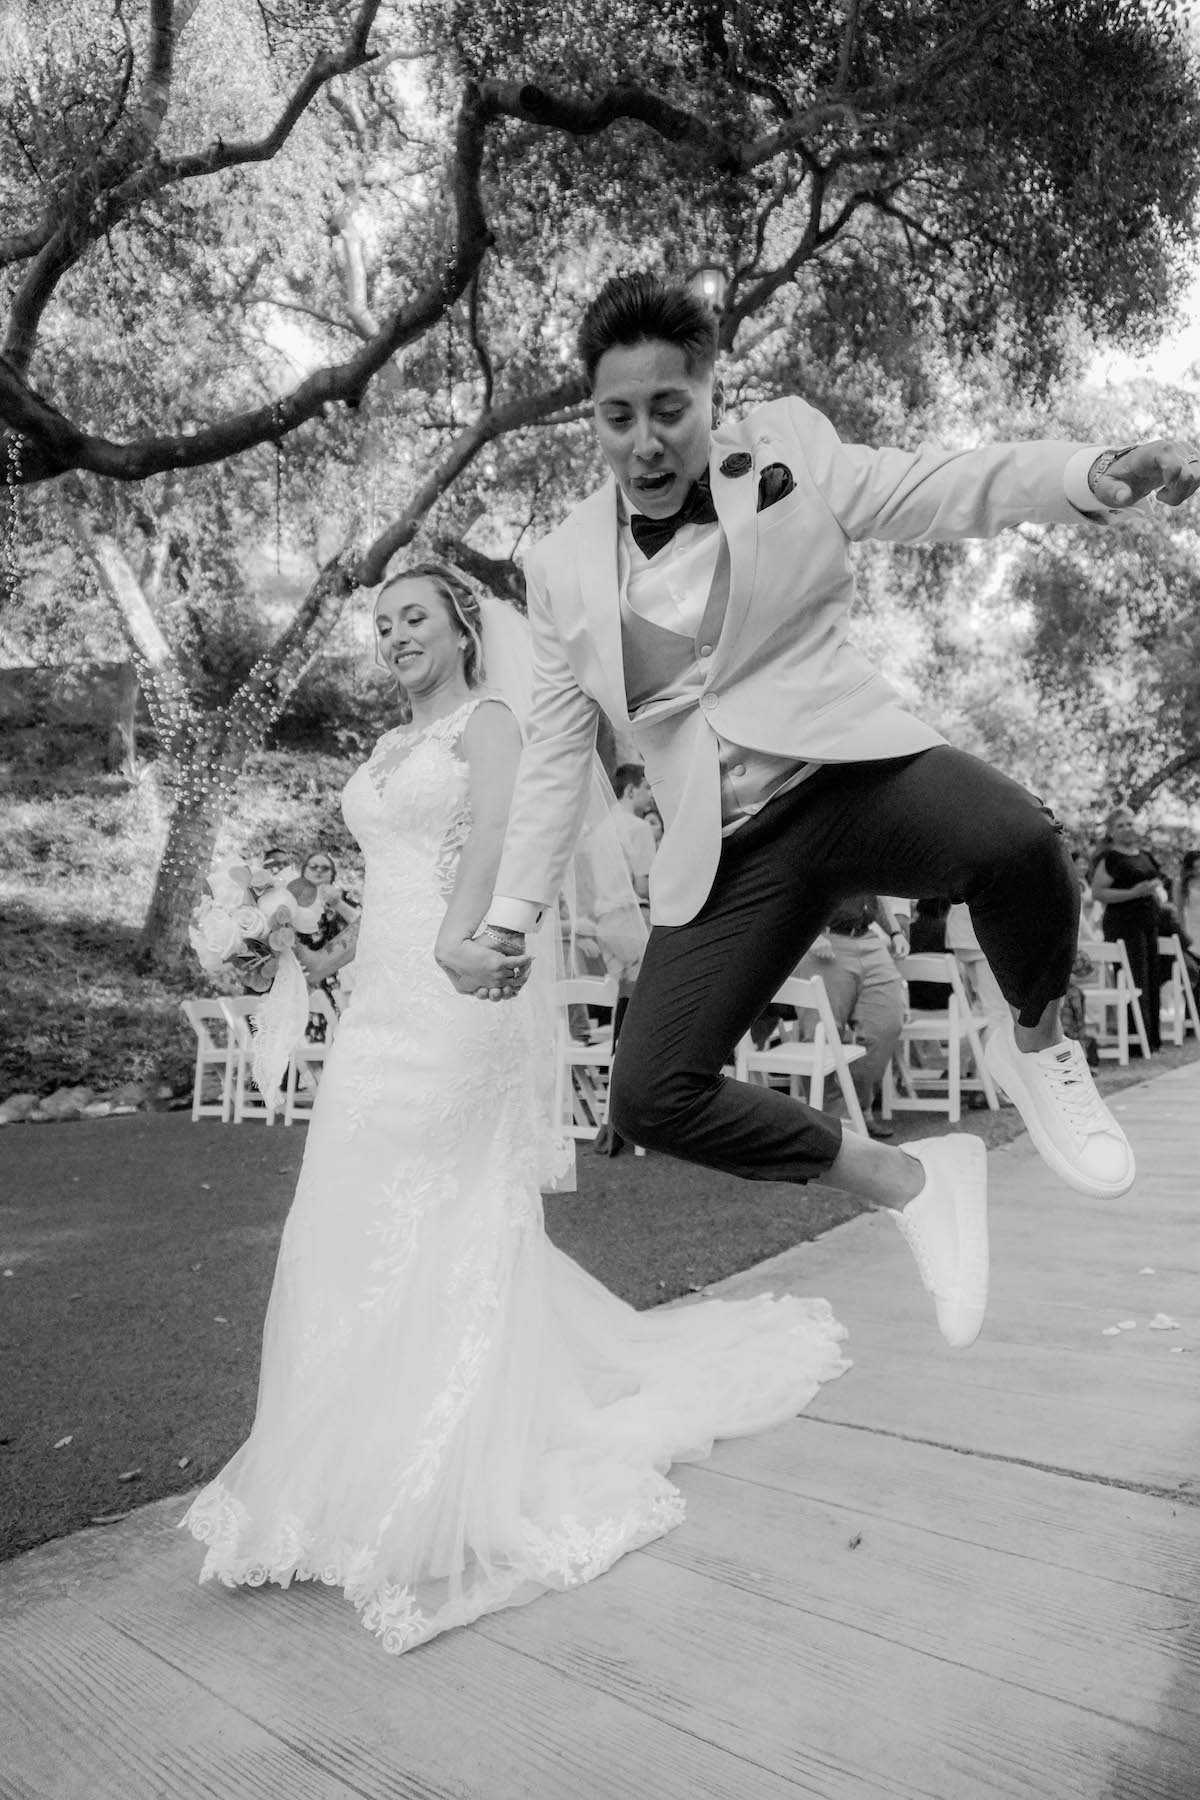
Photos by Kayla Cook & Andrew Hughes
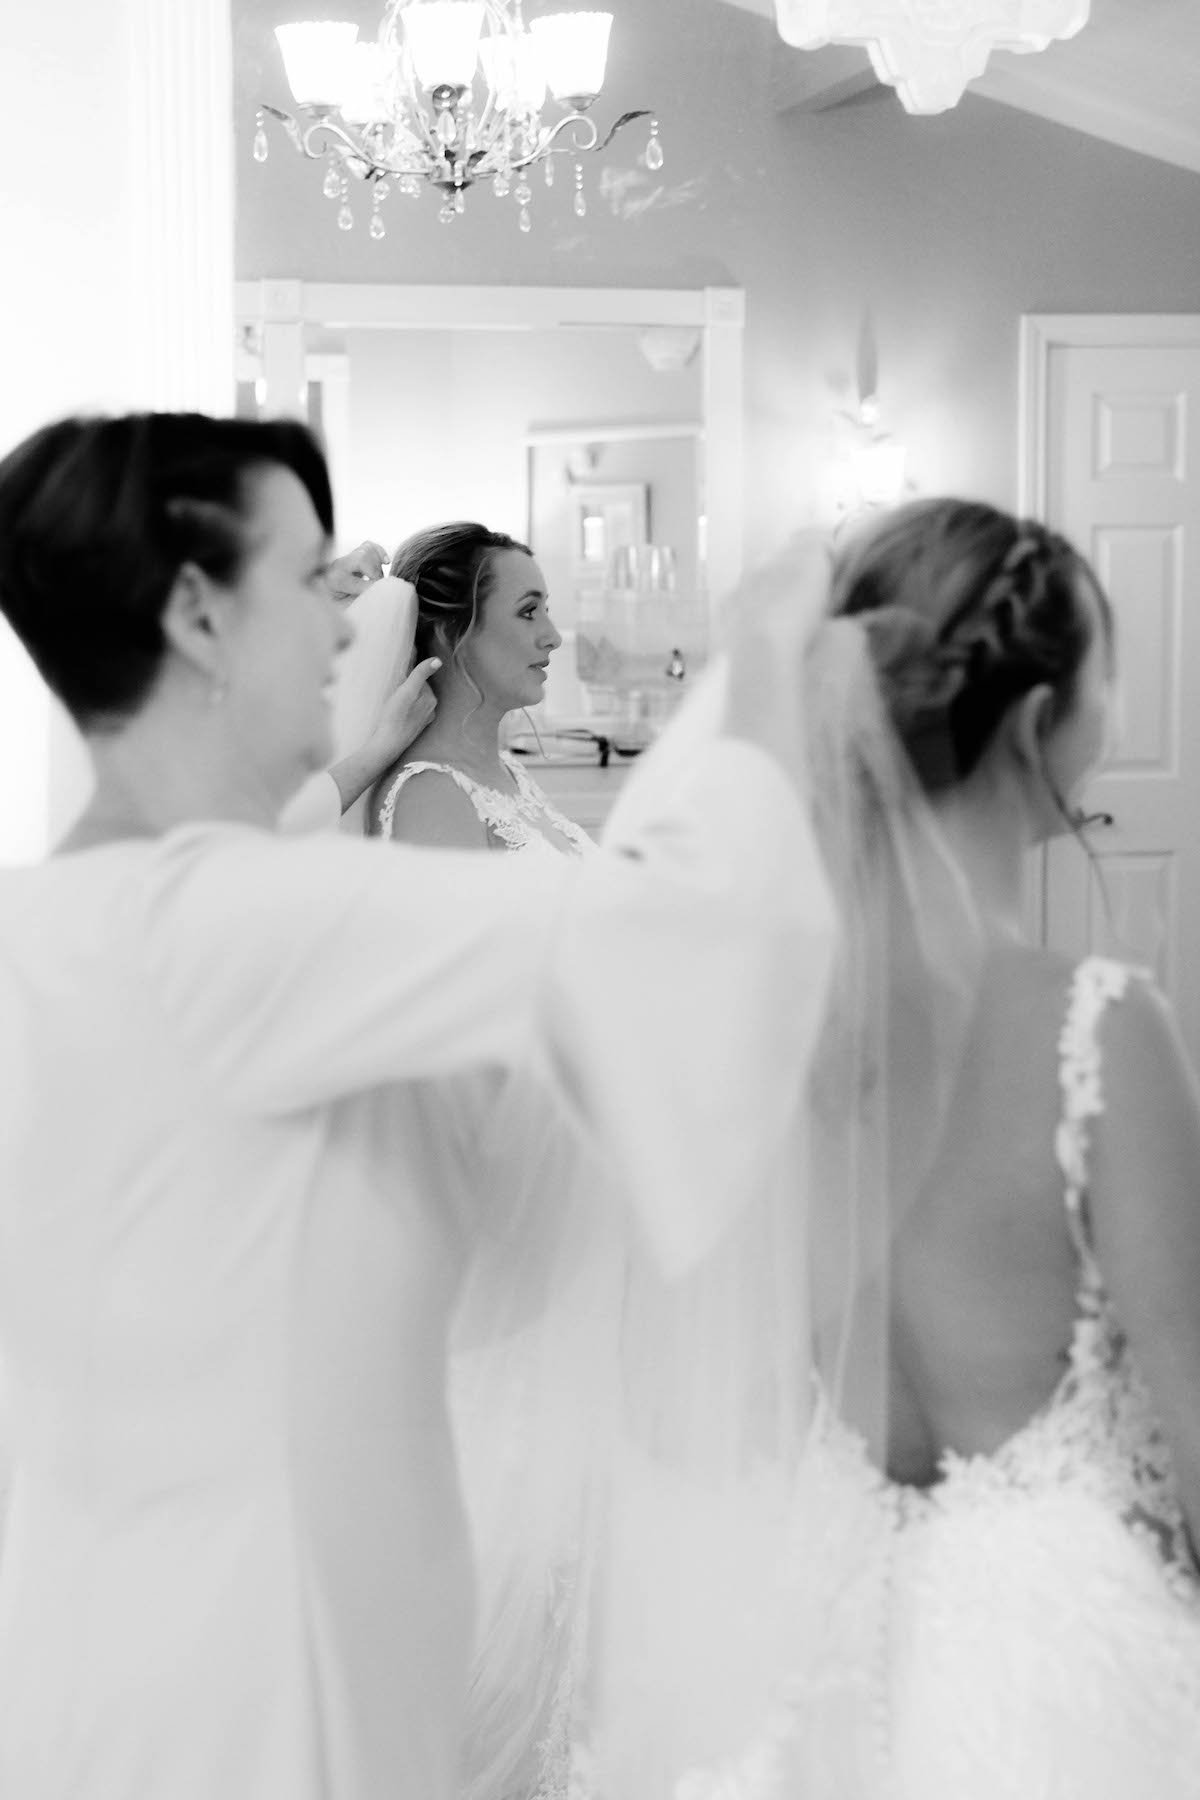
4. ... Just to throw out the plan.
As mentioned, this isn't a movie or TV wedding, this real life and, also as mentioned, there are so many vendors working on the same event. Between the other vendors, wedding guests, etc., you should have a steady plan to allow for human error the day of the event. Having your plan memorized so that you can mentally adjust it later will save you so much in the long run. In my case, having a Second Shooter to rely on for photos I was unable to capture was so helpful. (S/O to Andy!) If having a second shooter is not possible for you on your first shoot, I advise just ensuring you have a handful of quality shots from your varying locations to cull from, and you should be okay!
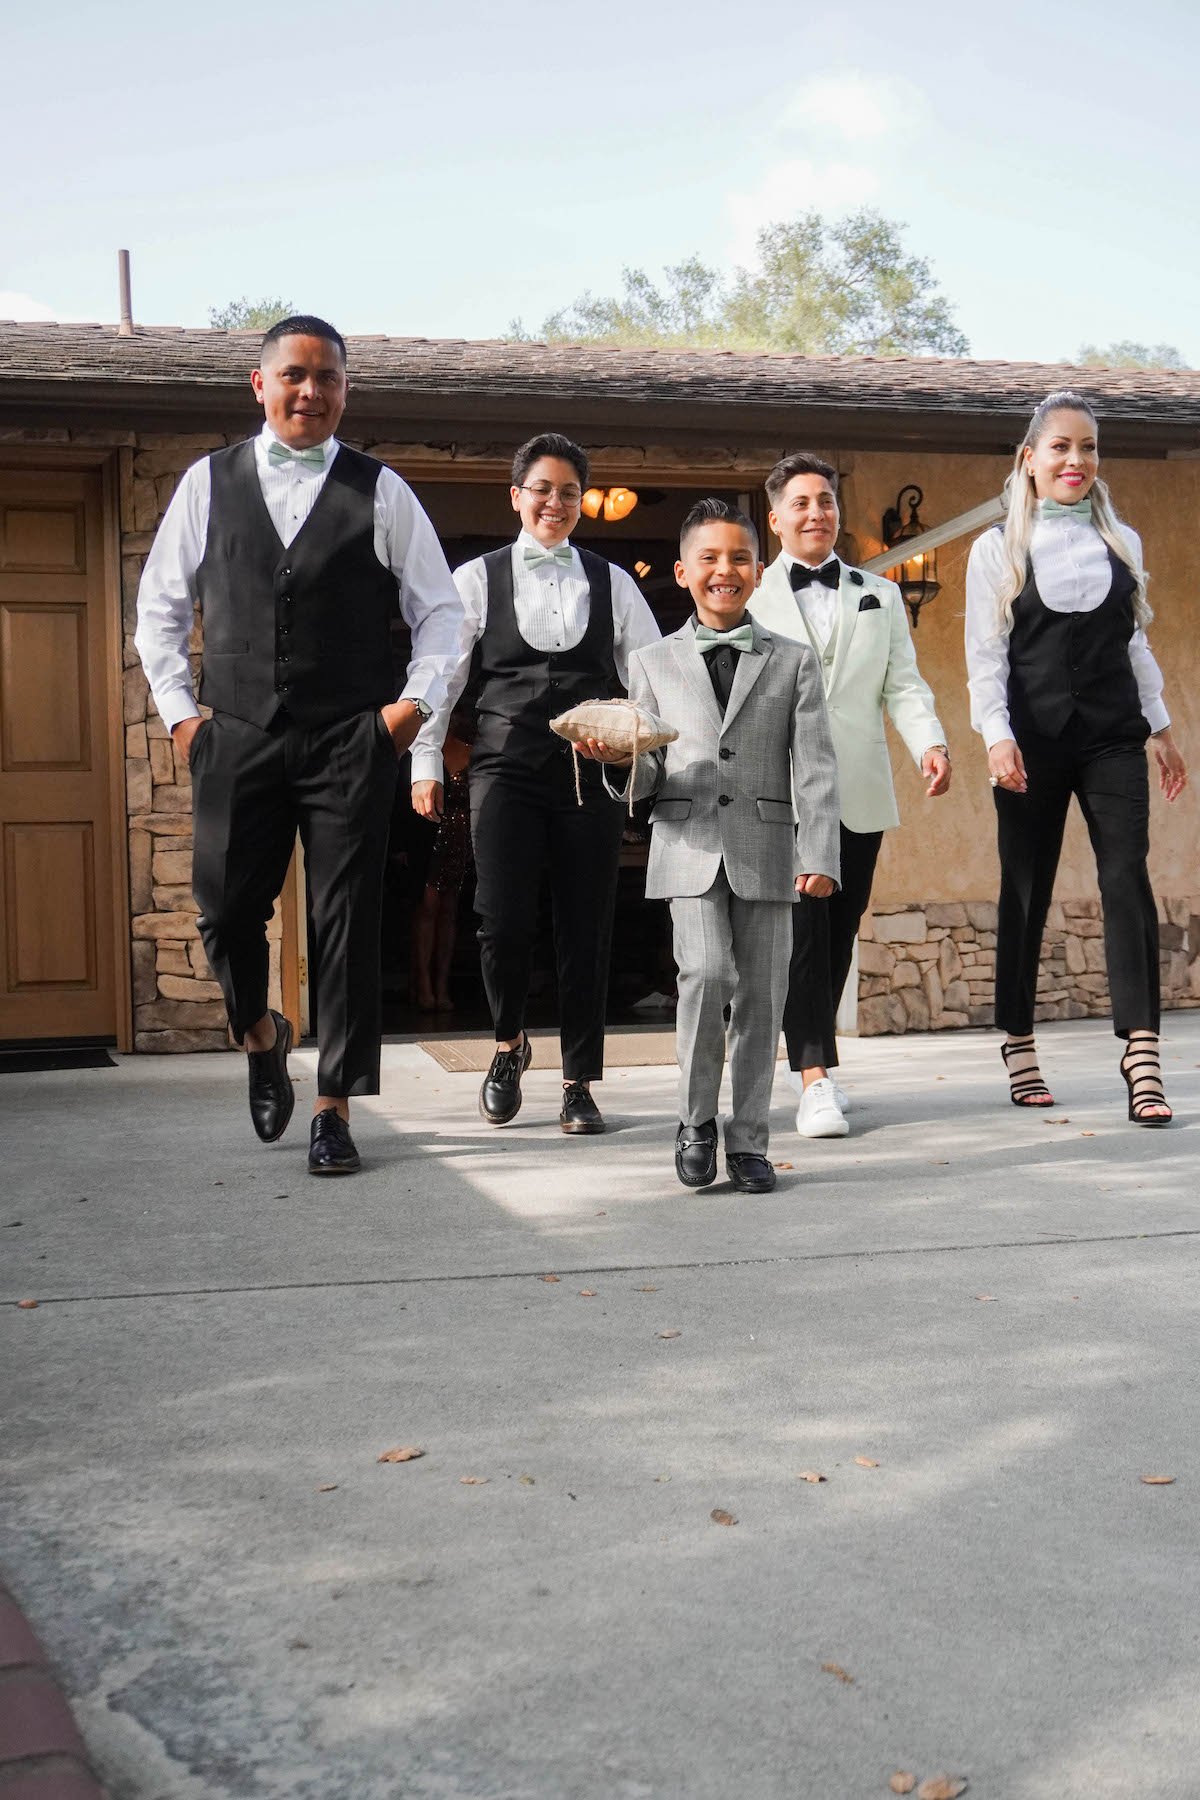

Photos by Andrew Hughes
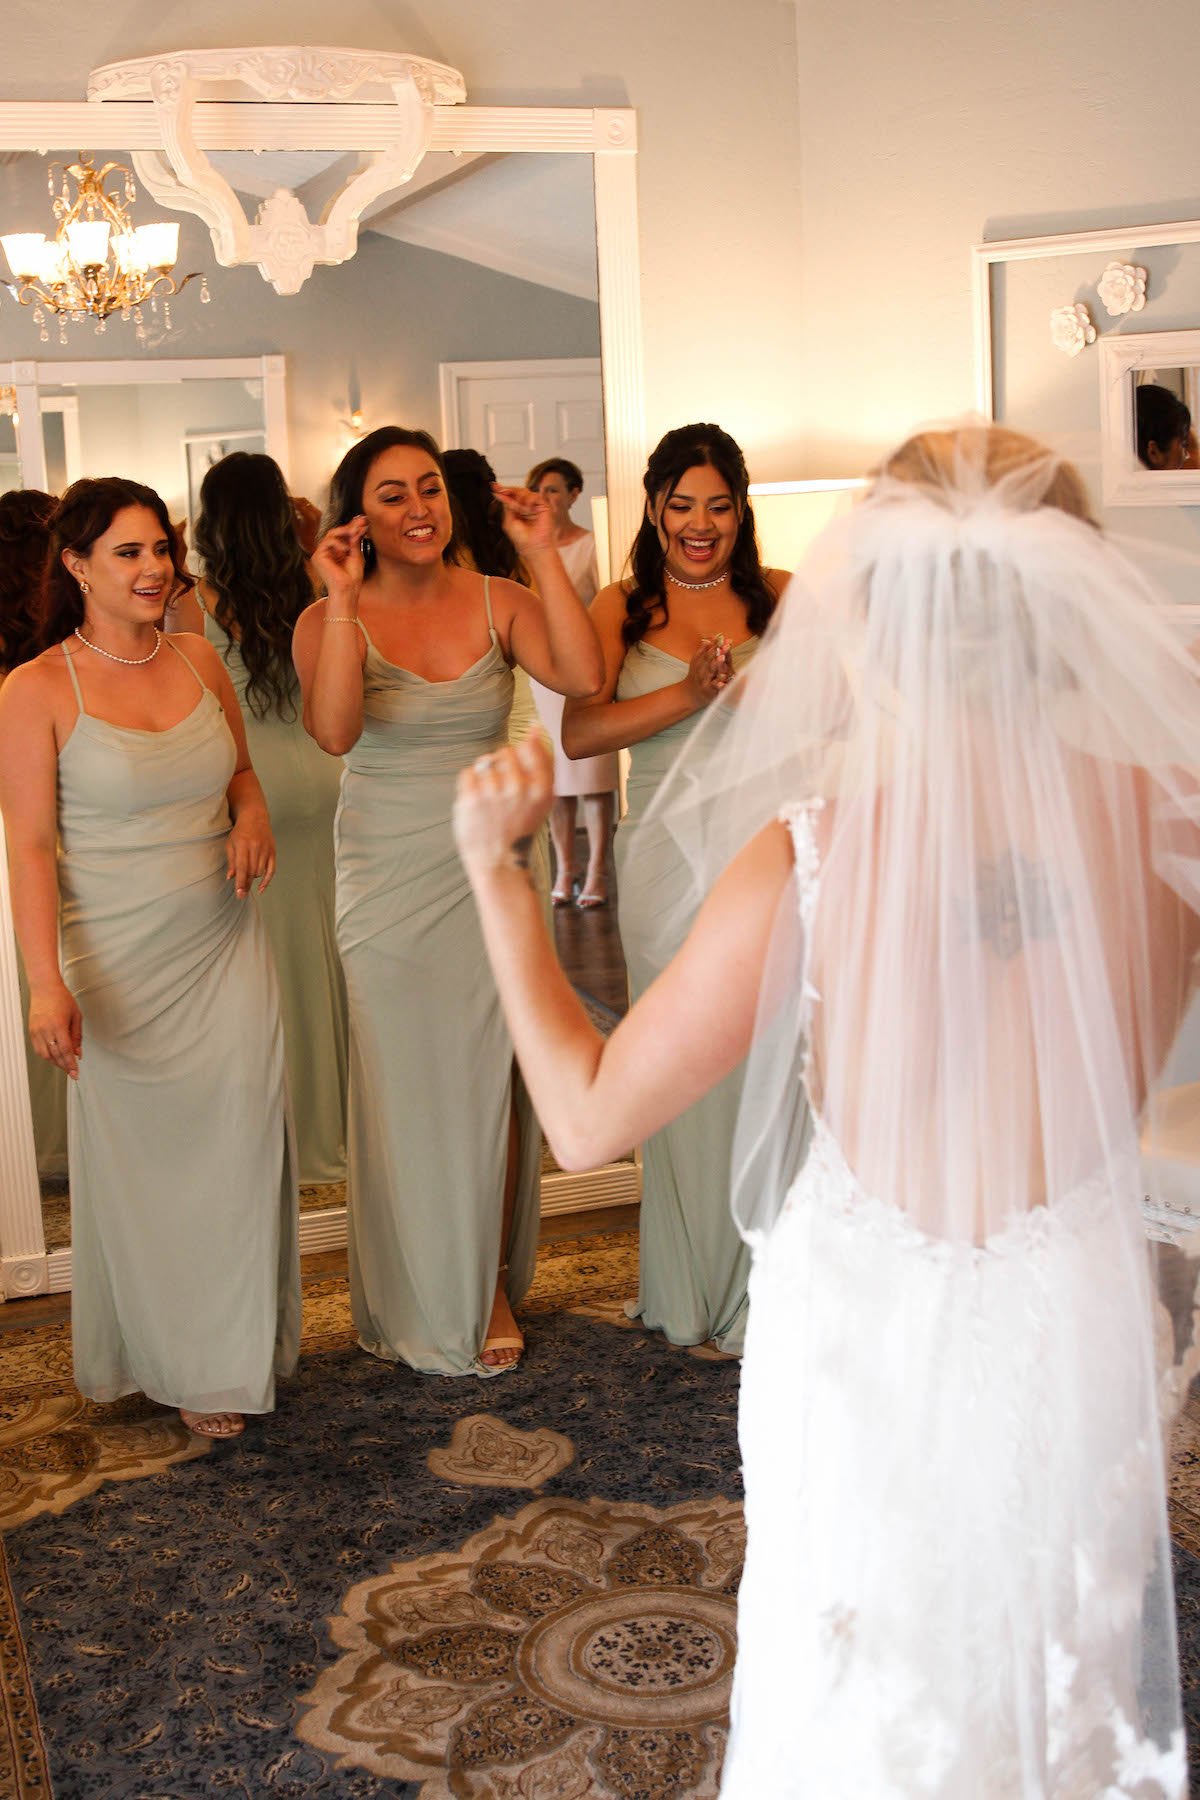
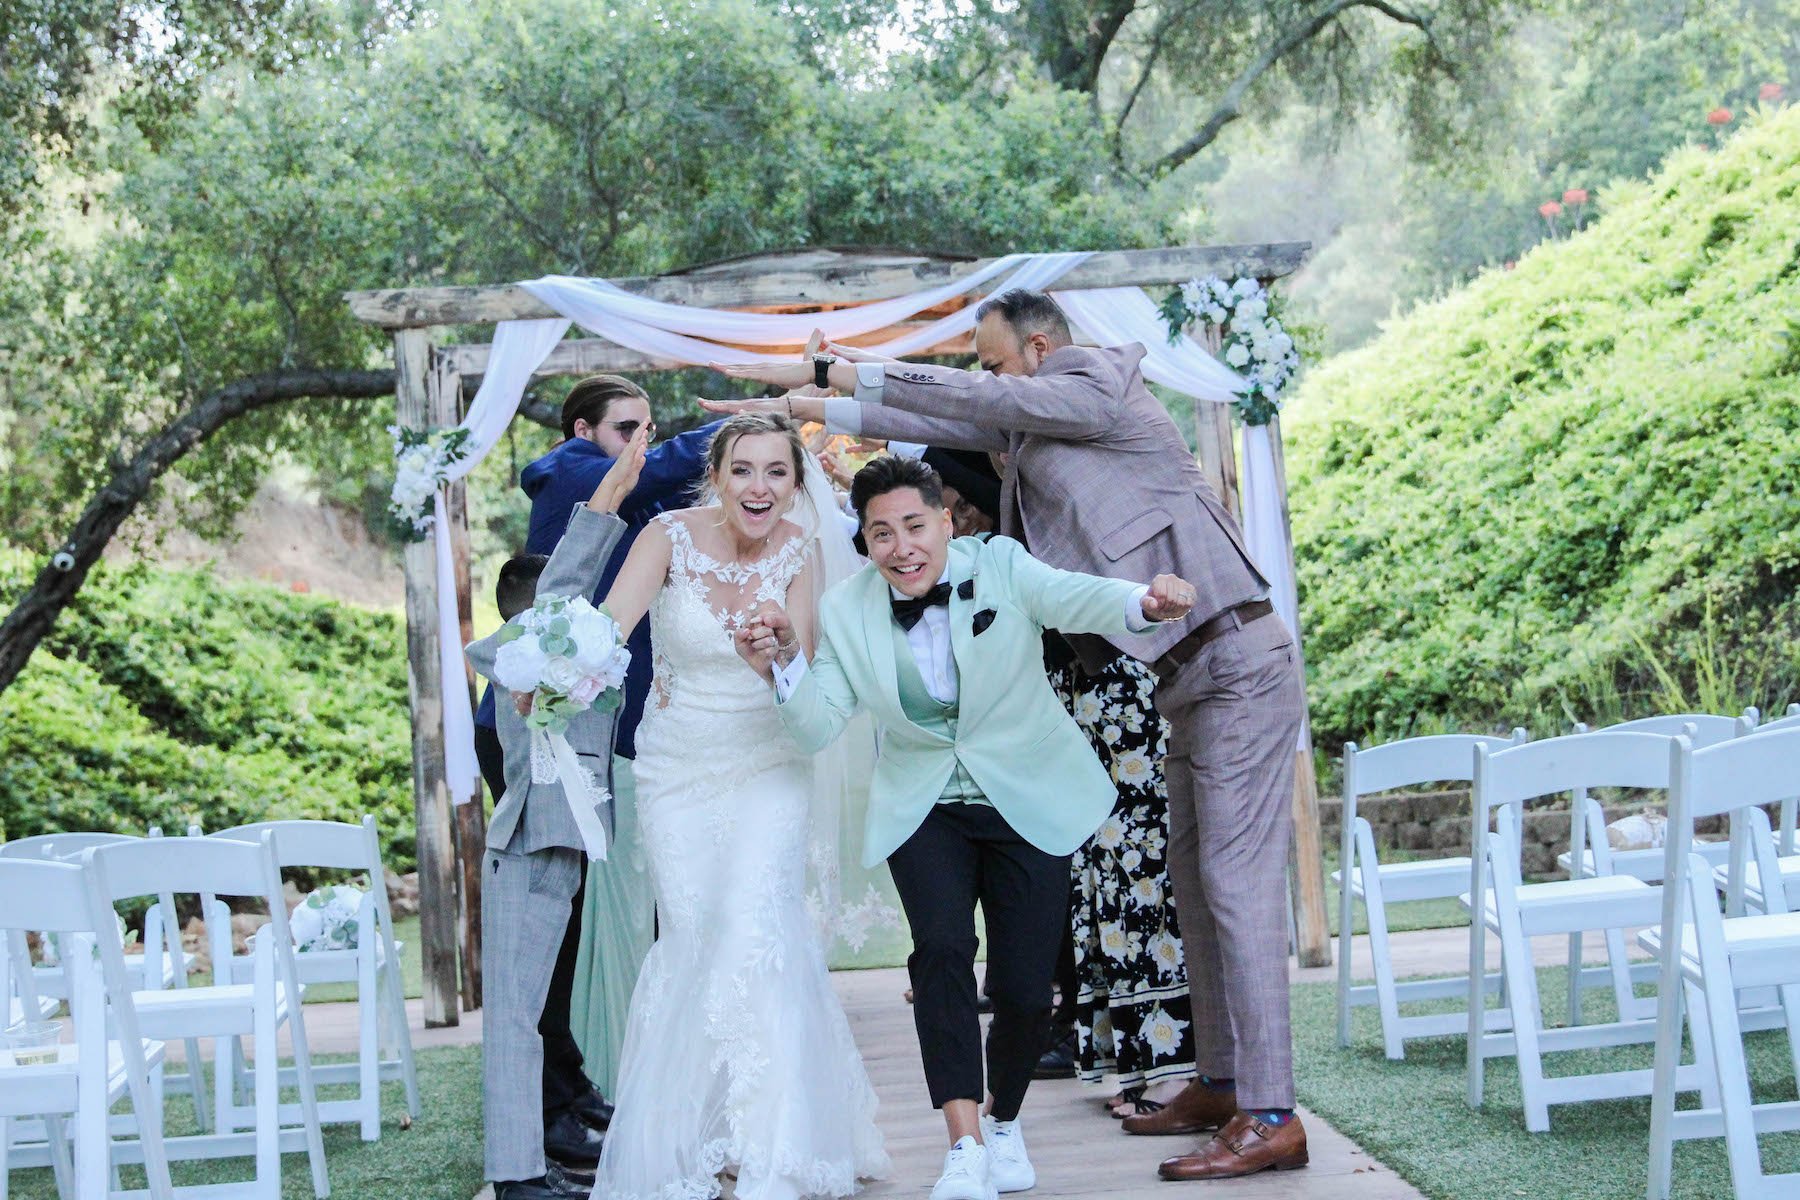
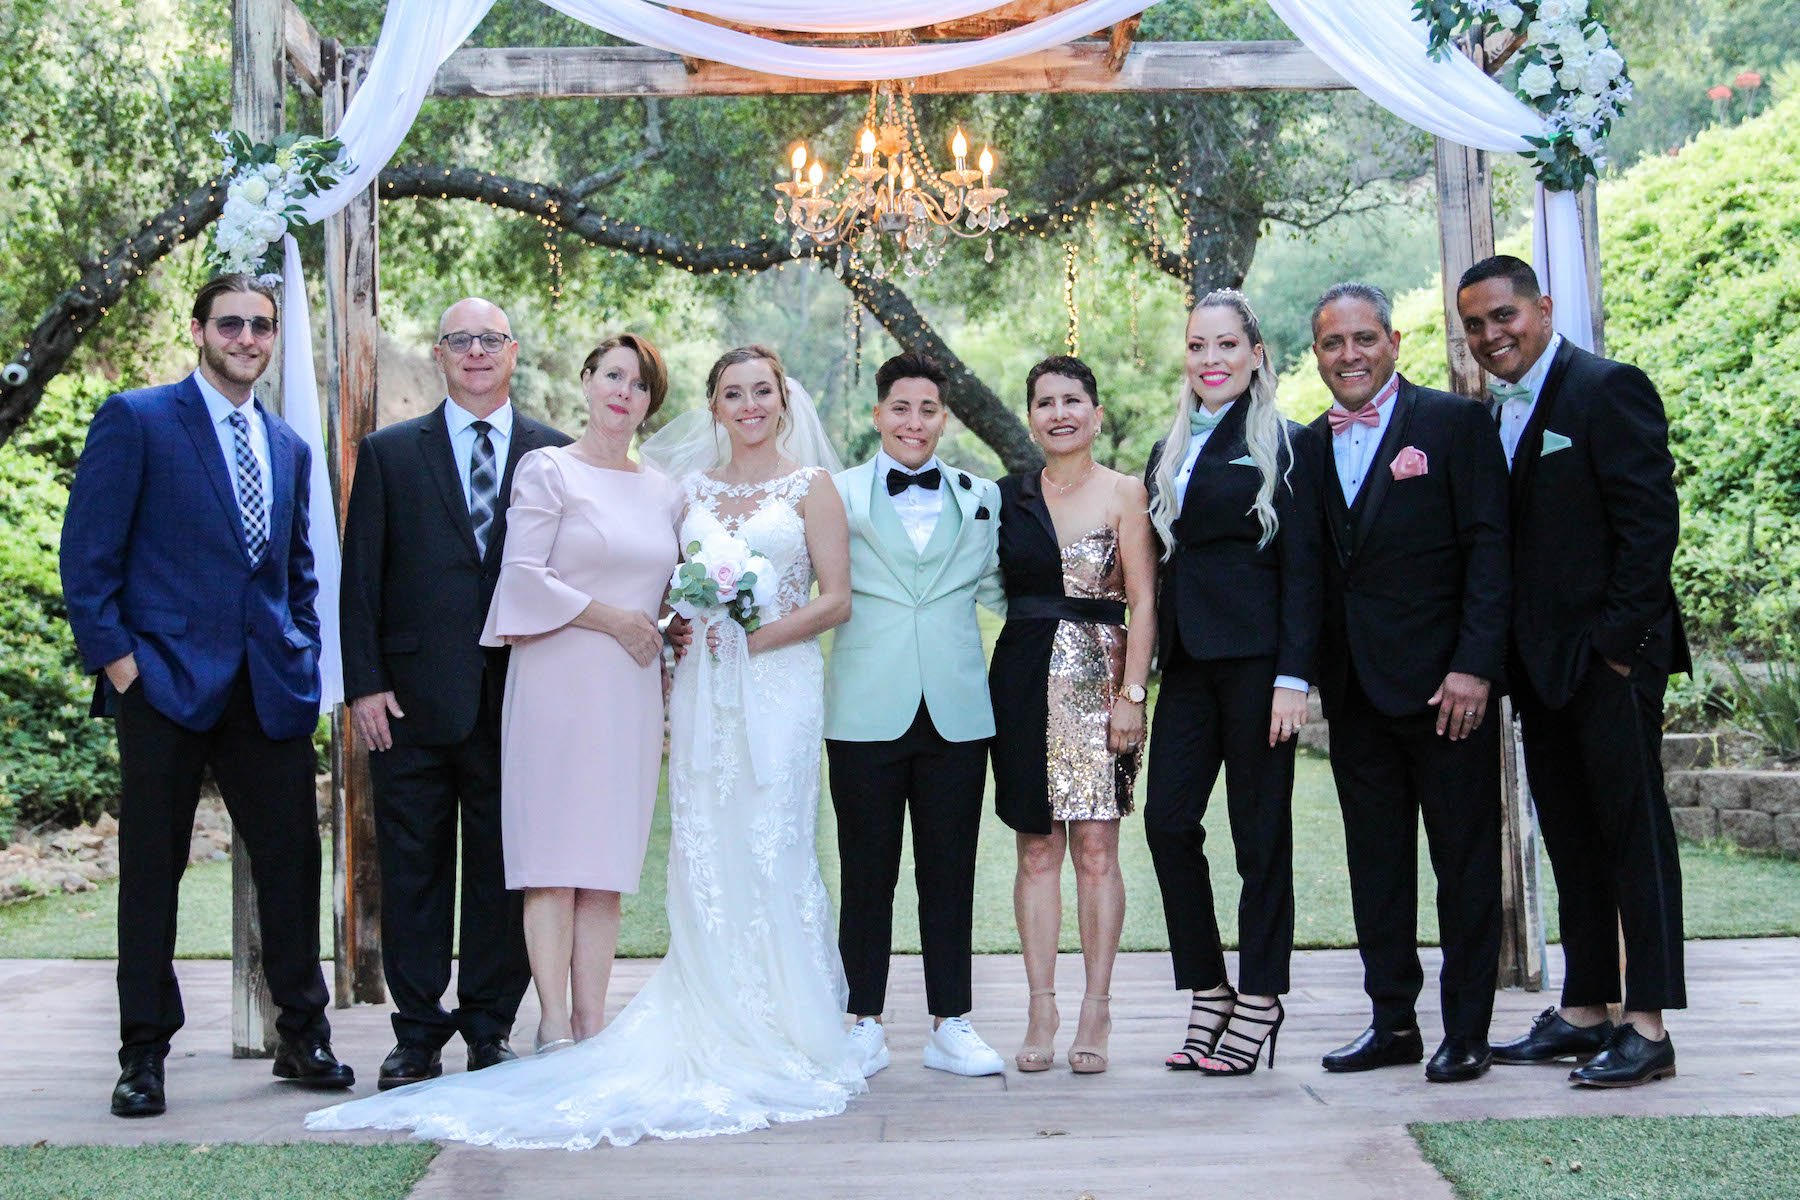
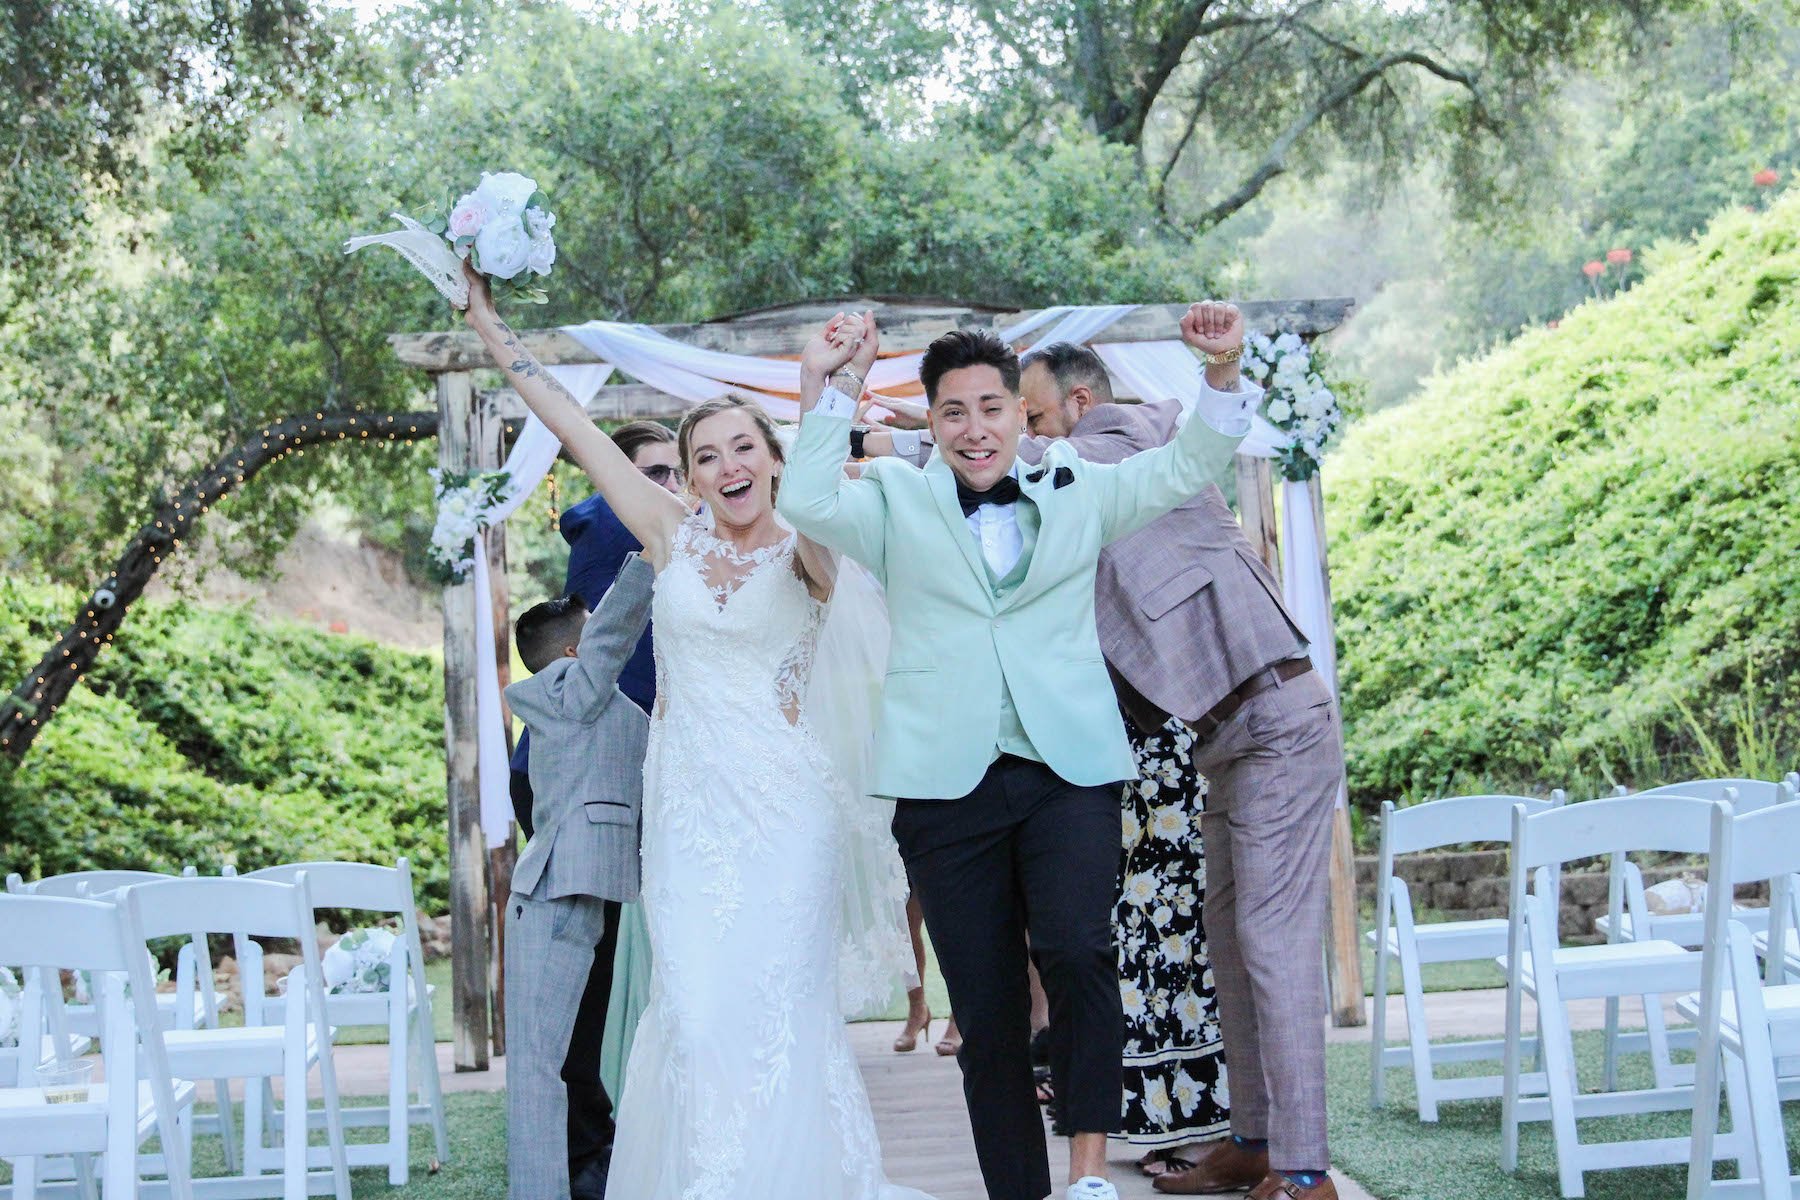
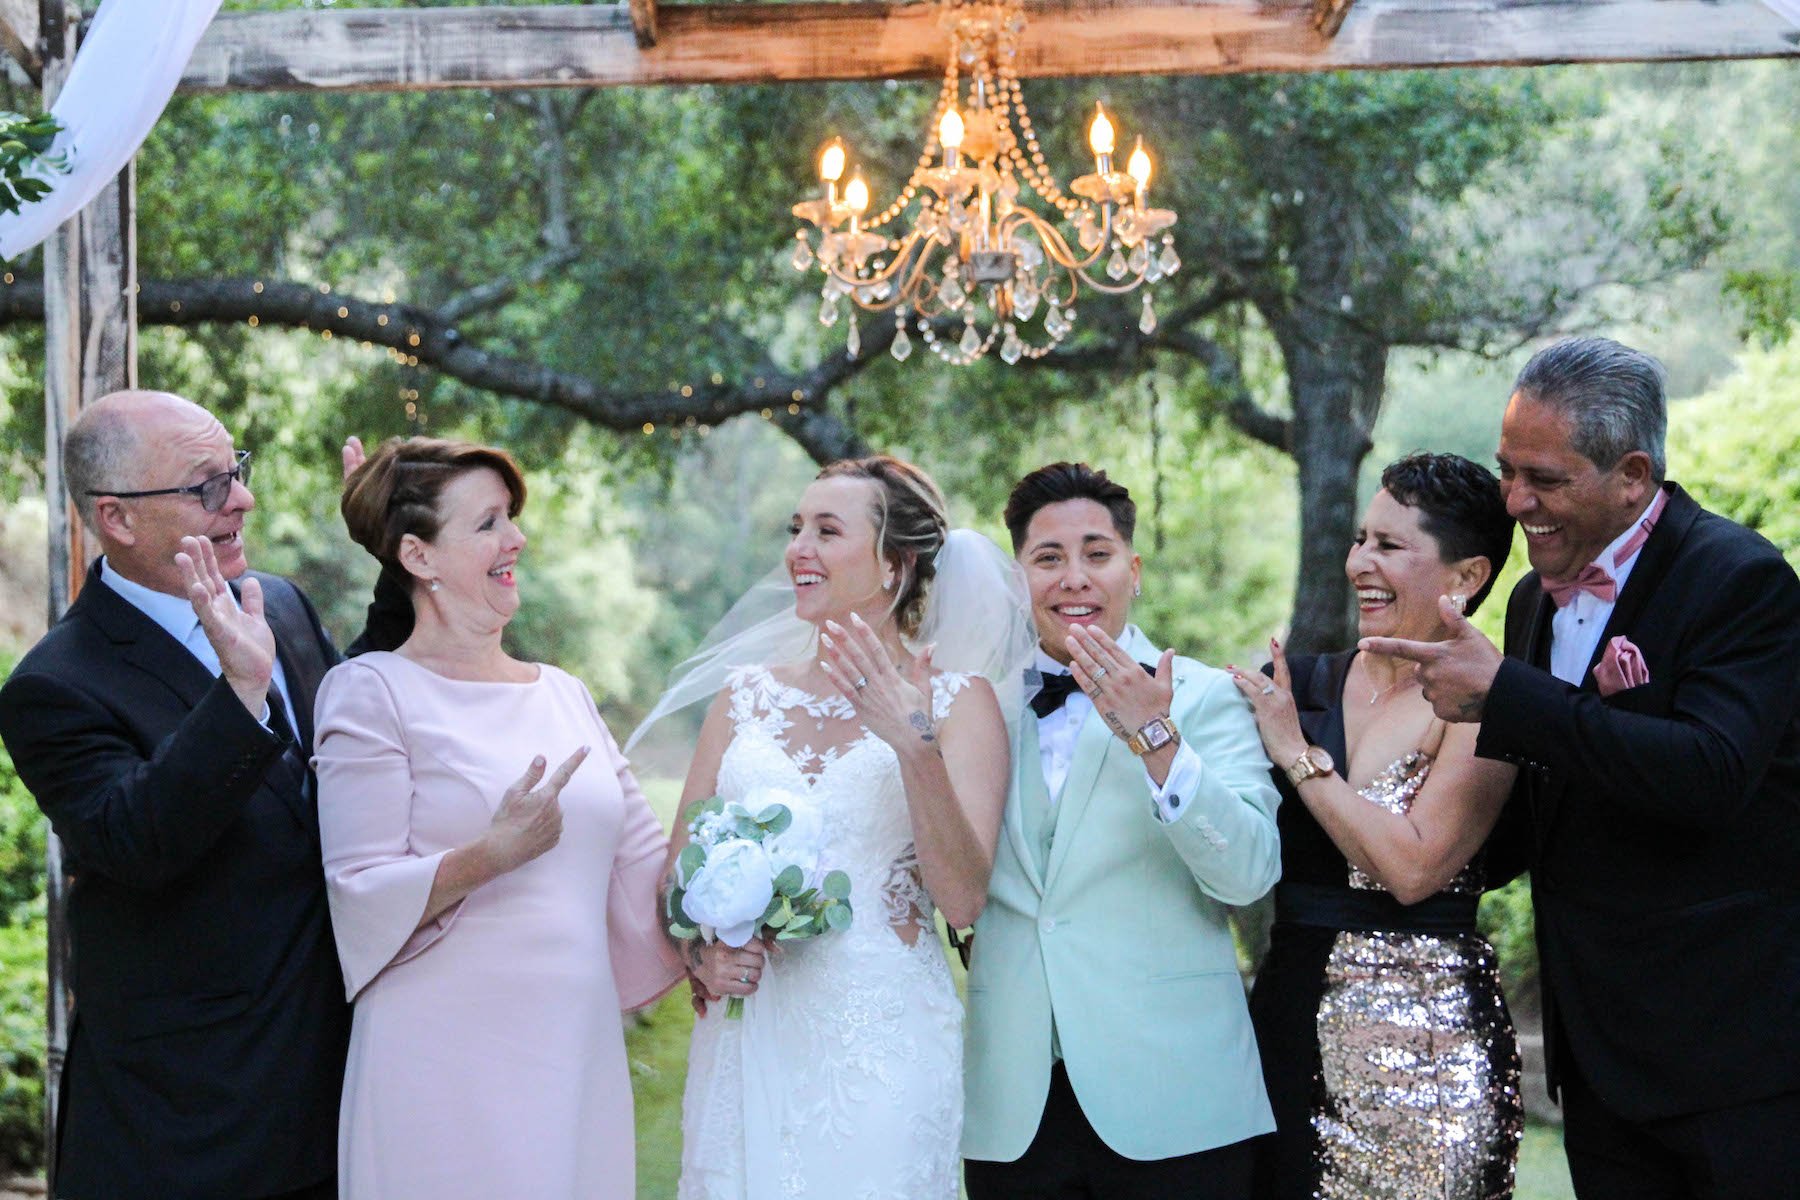
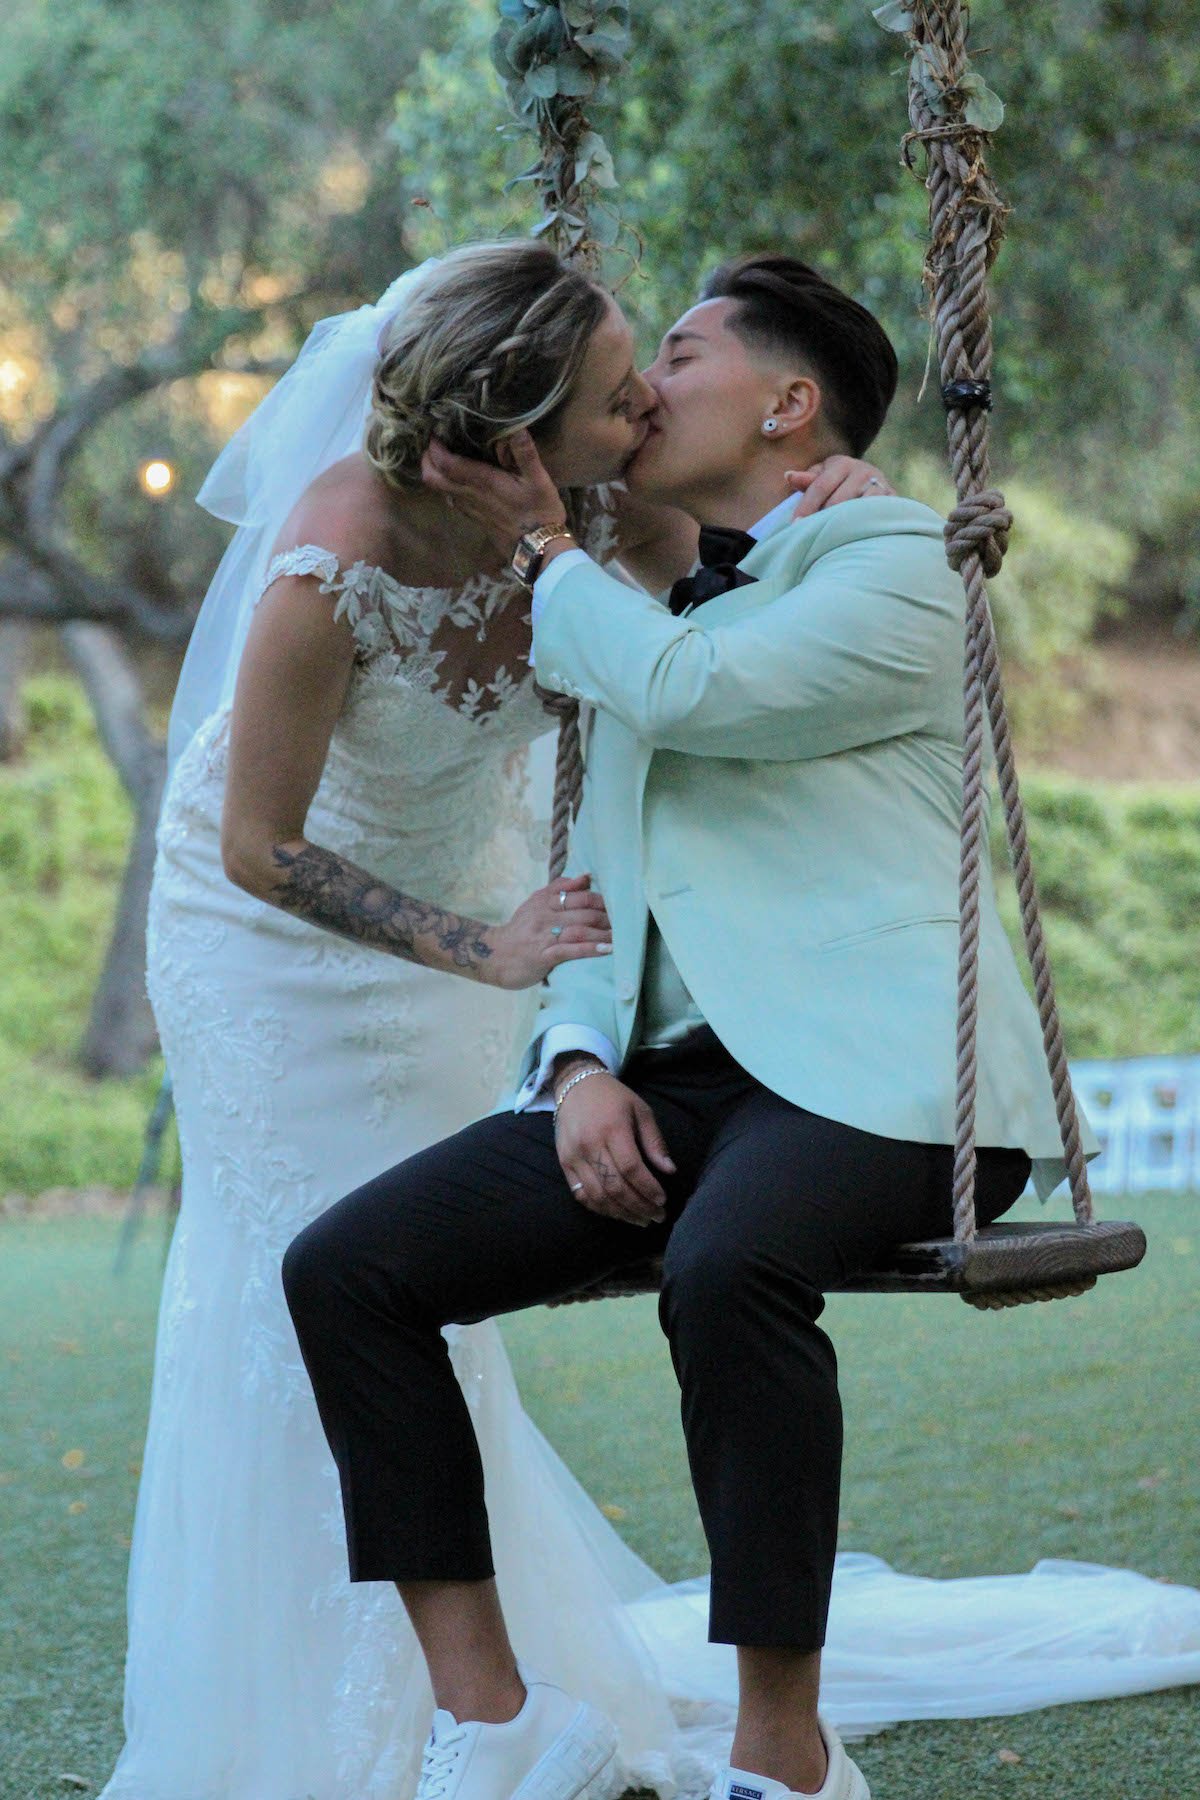
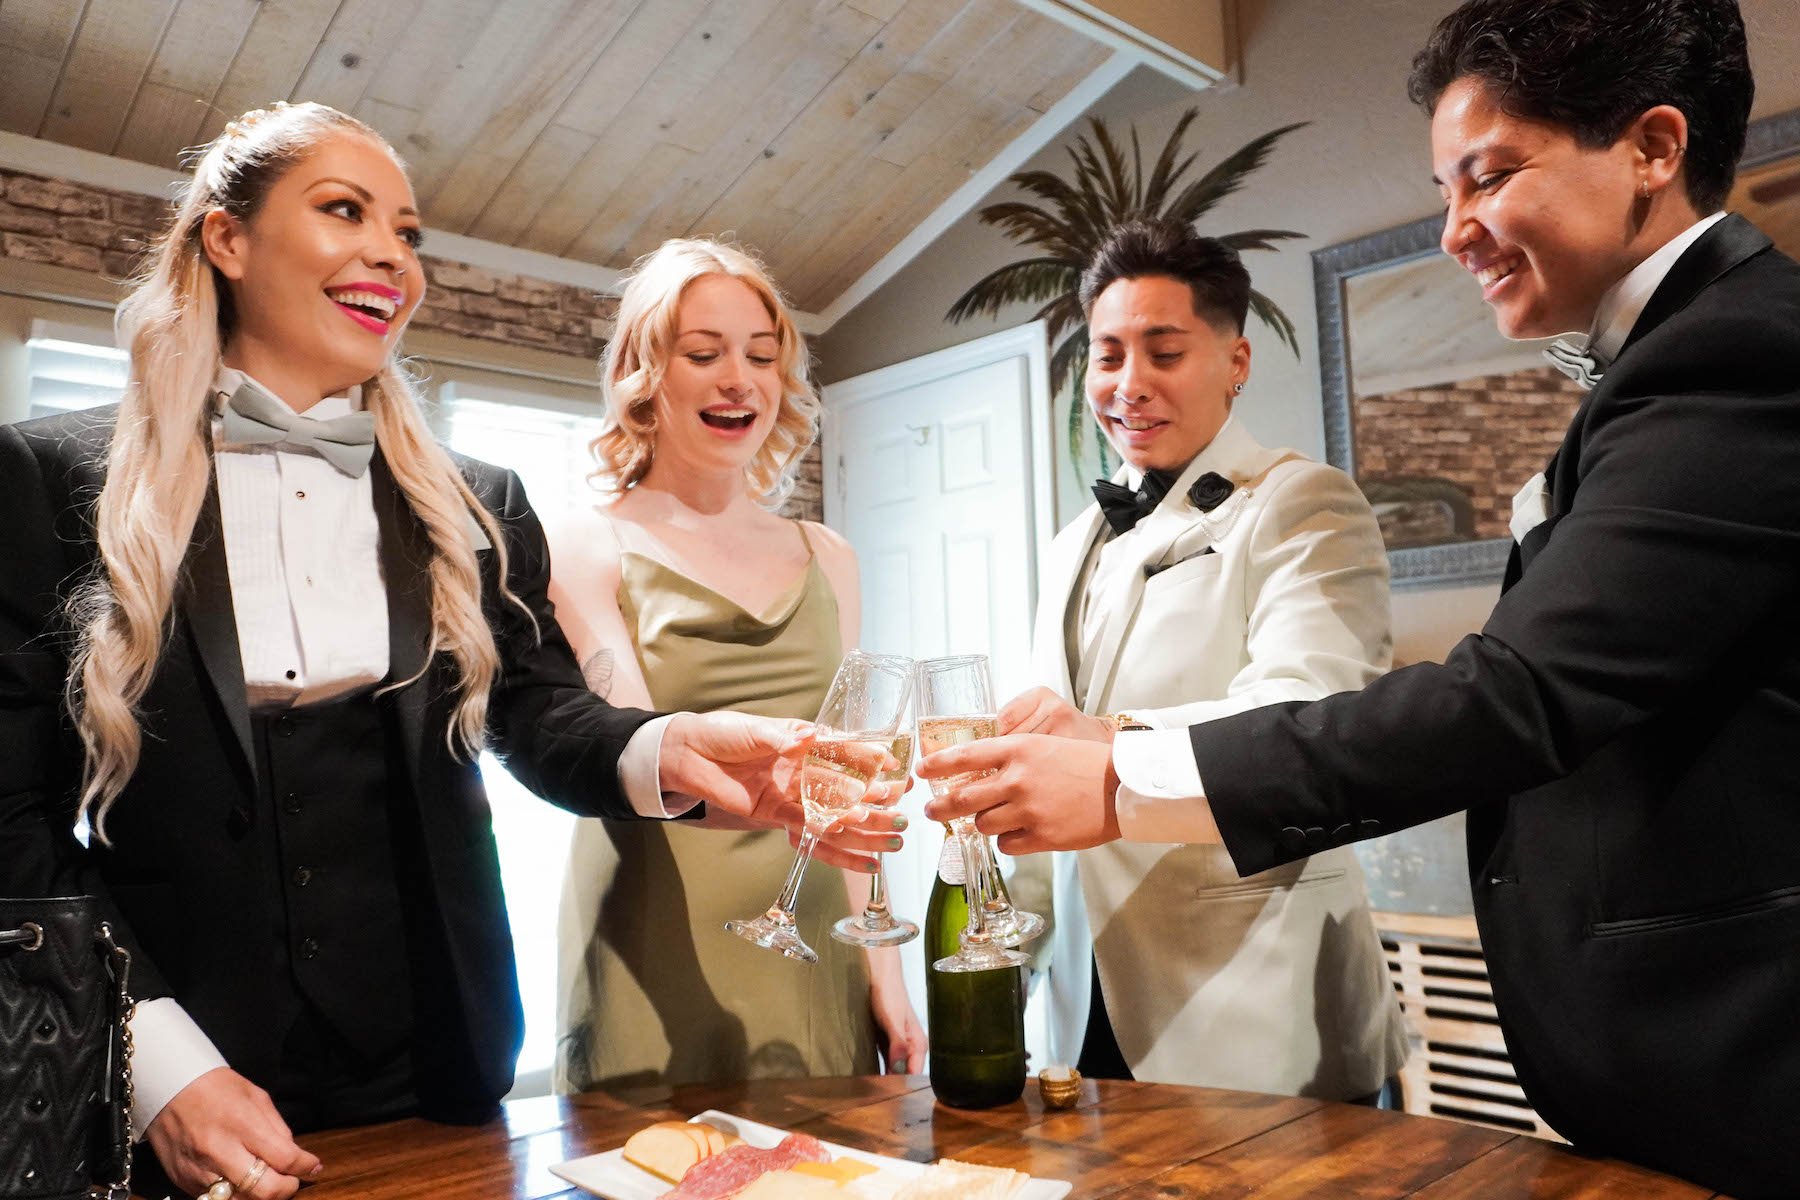
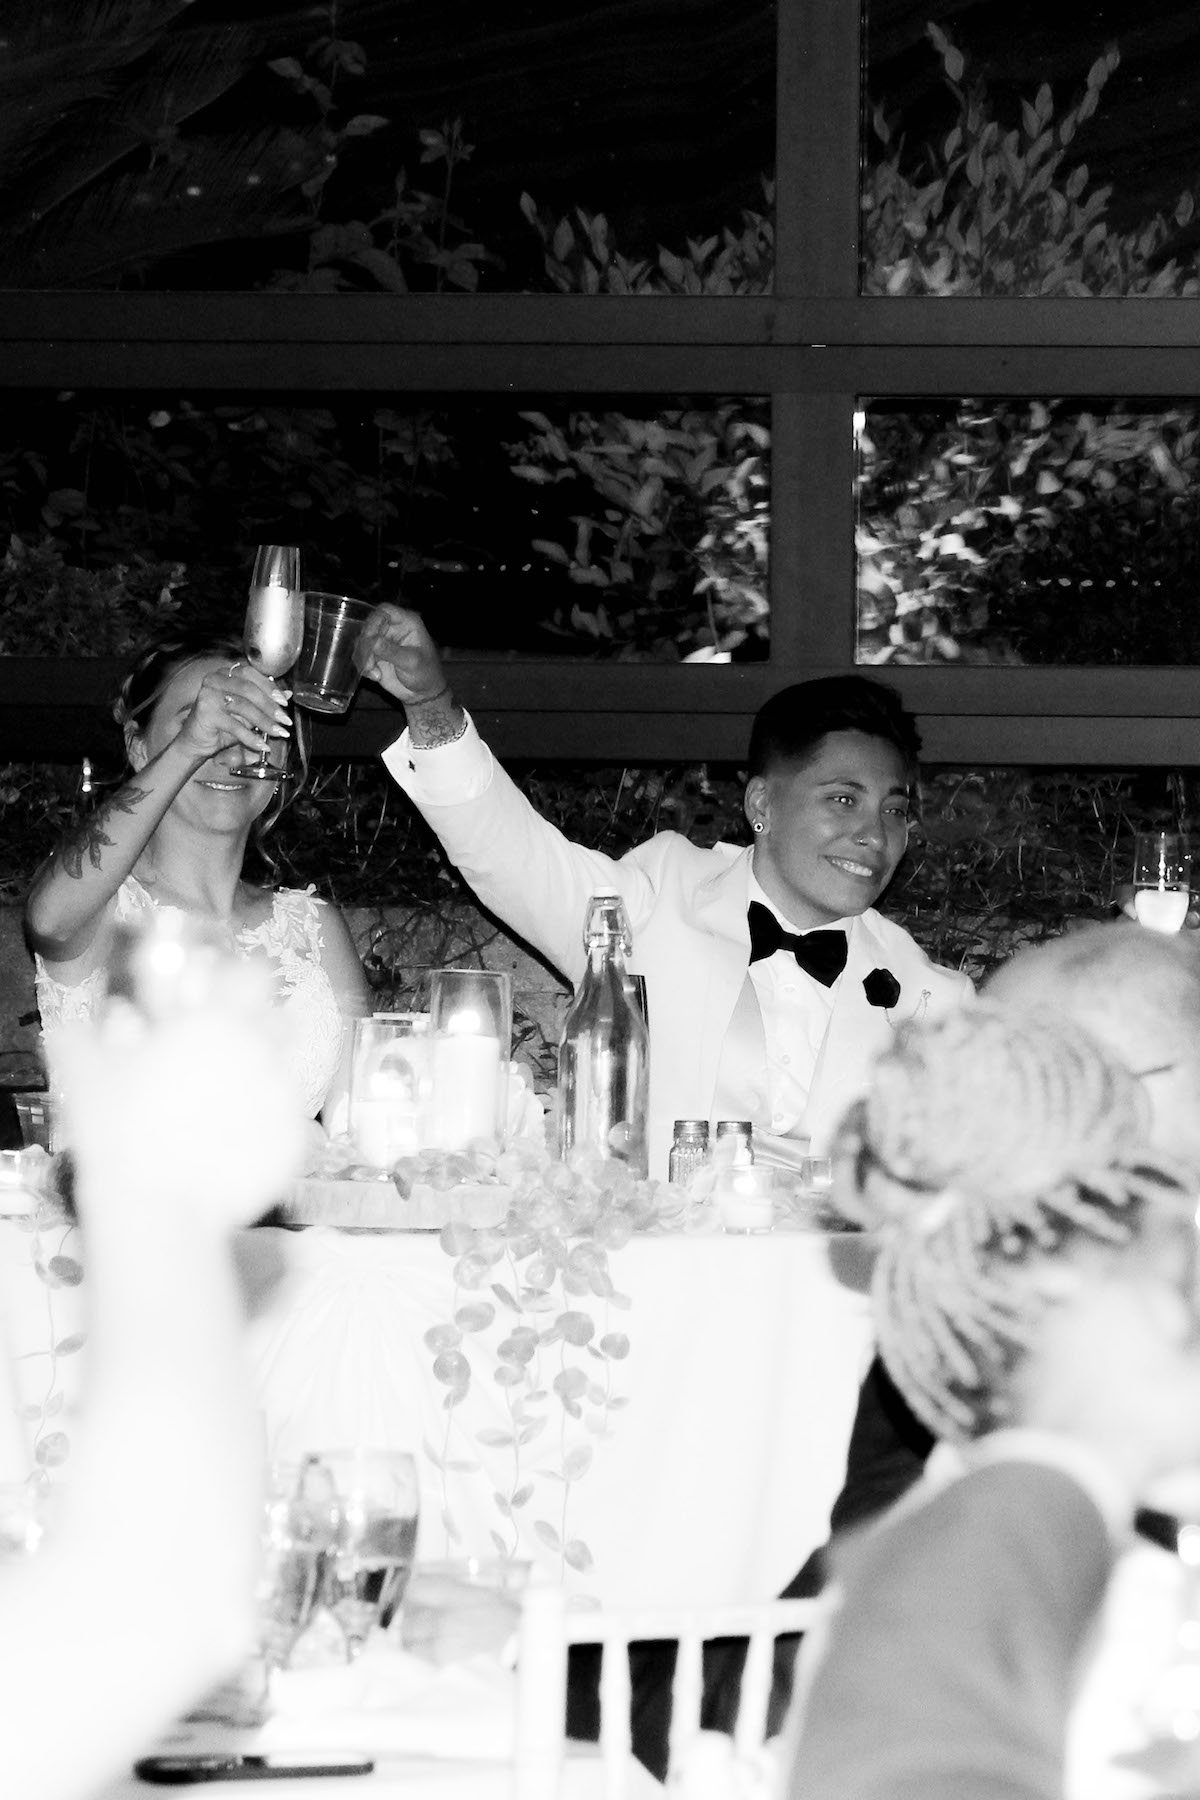
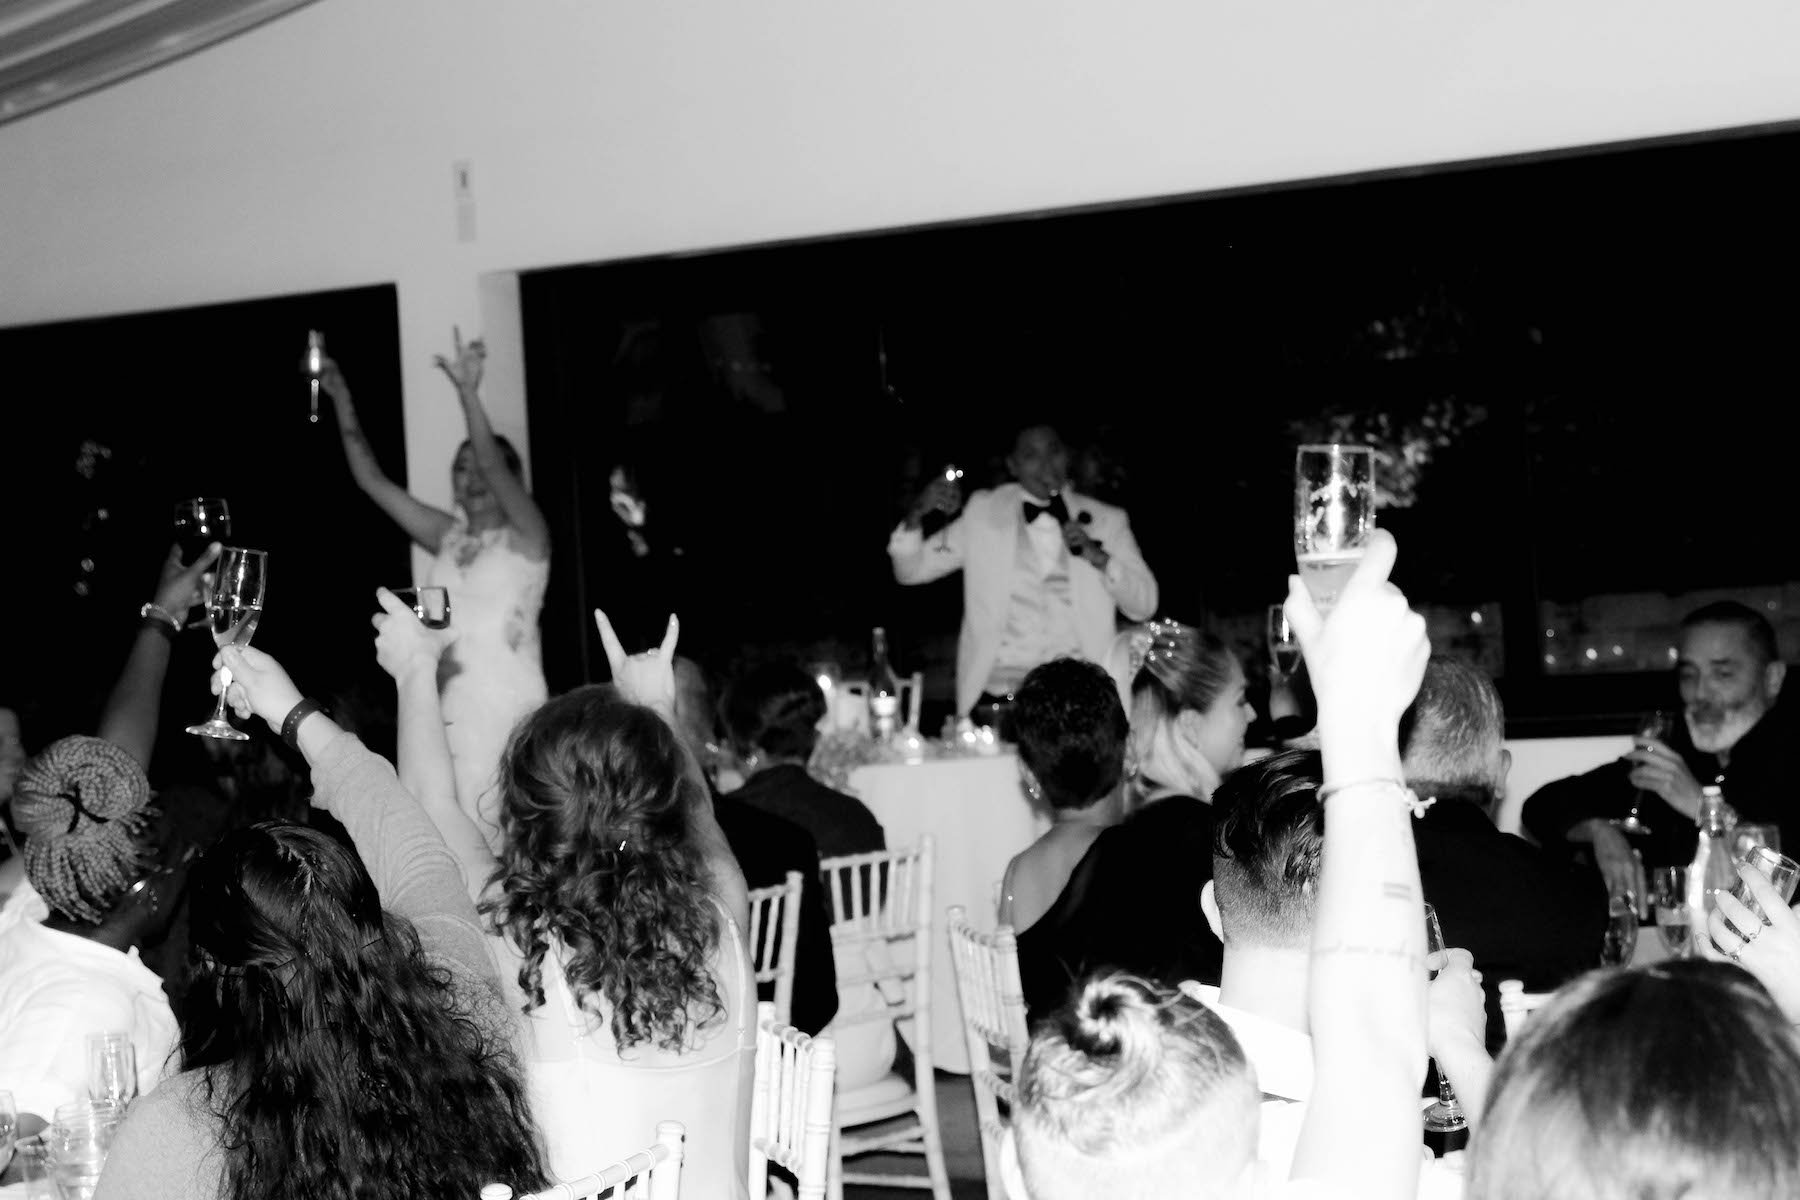
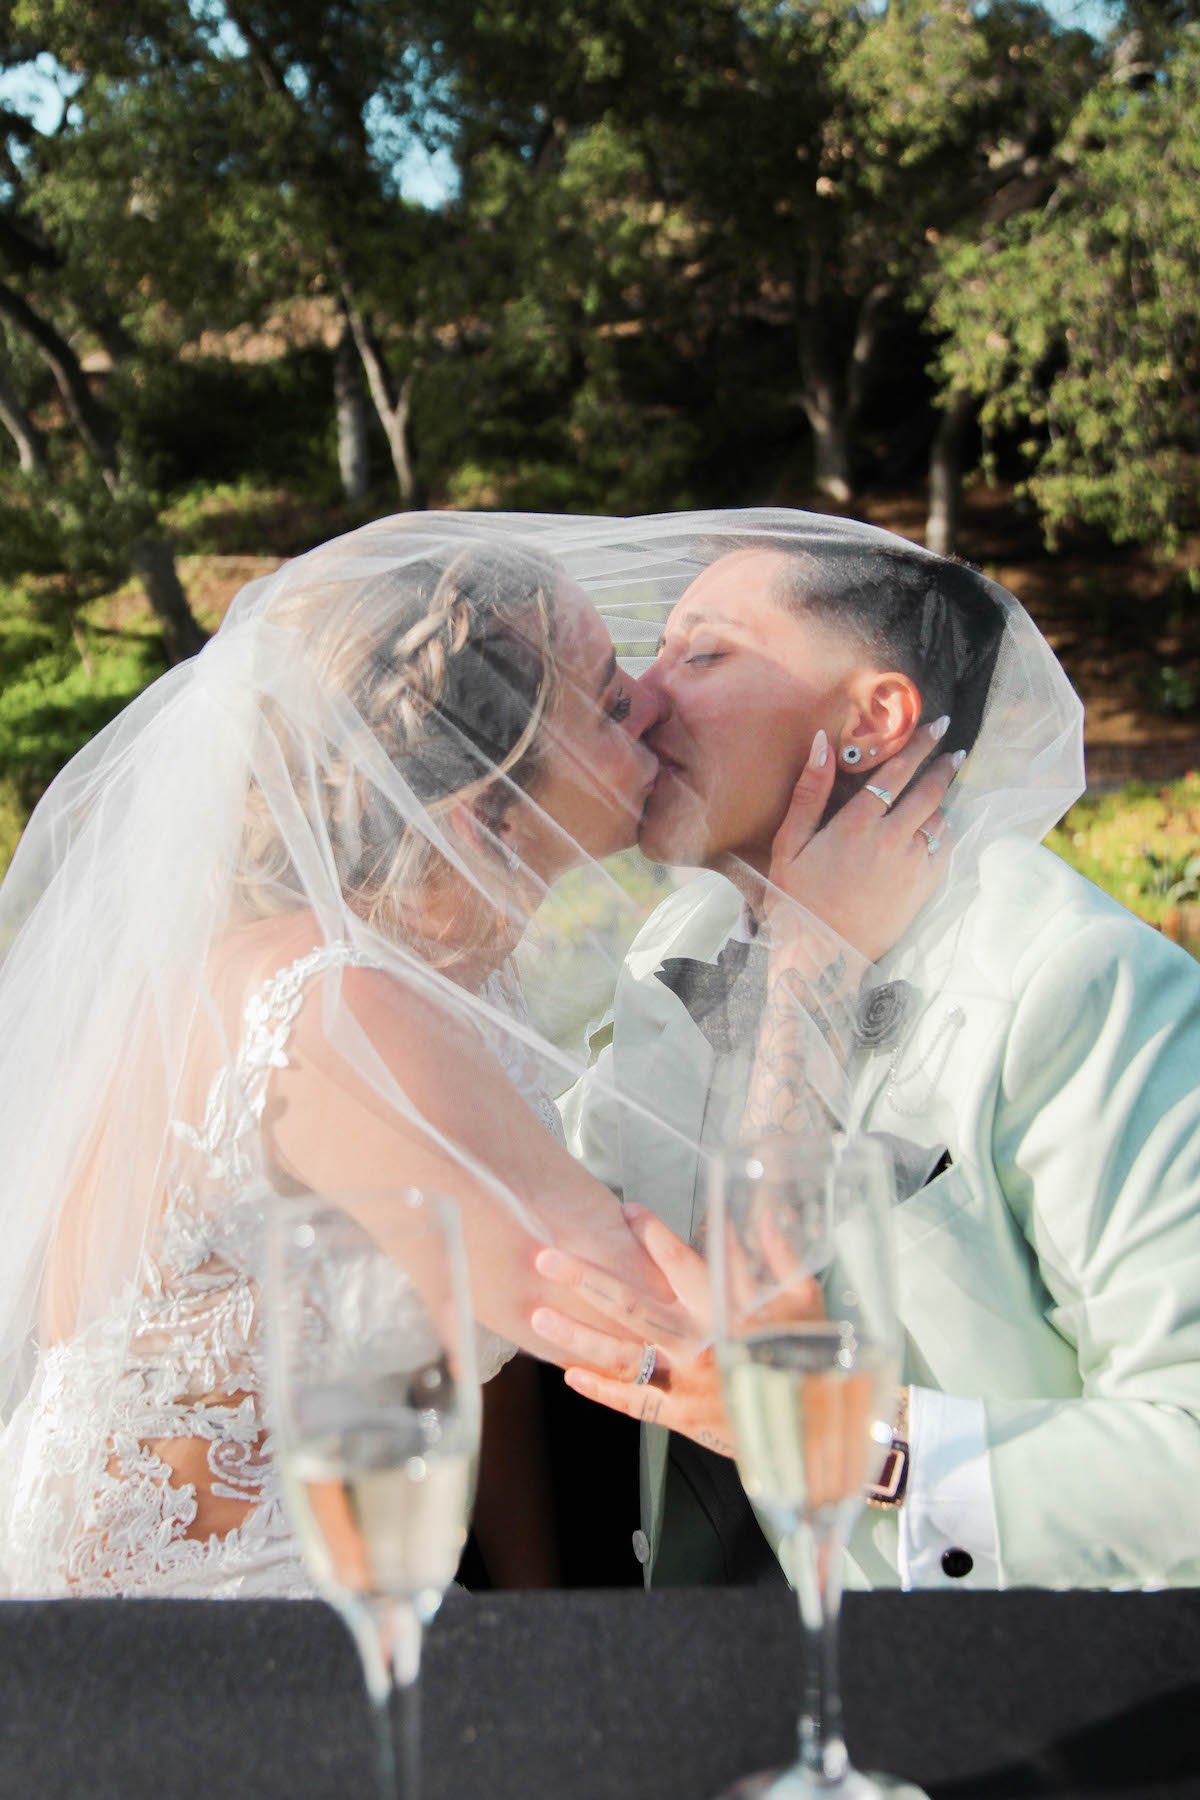
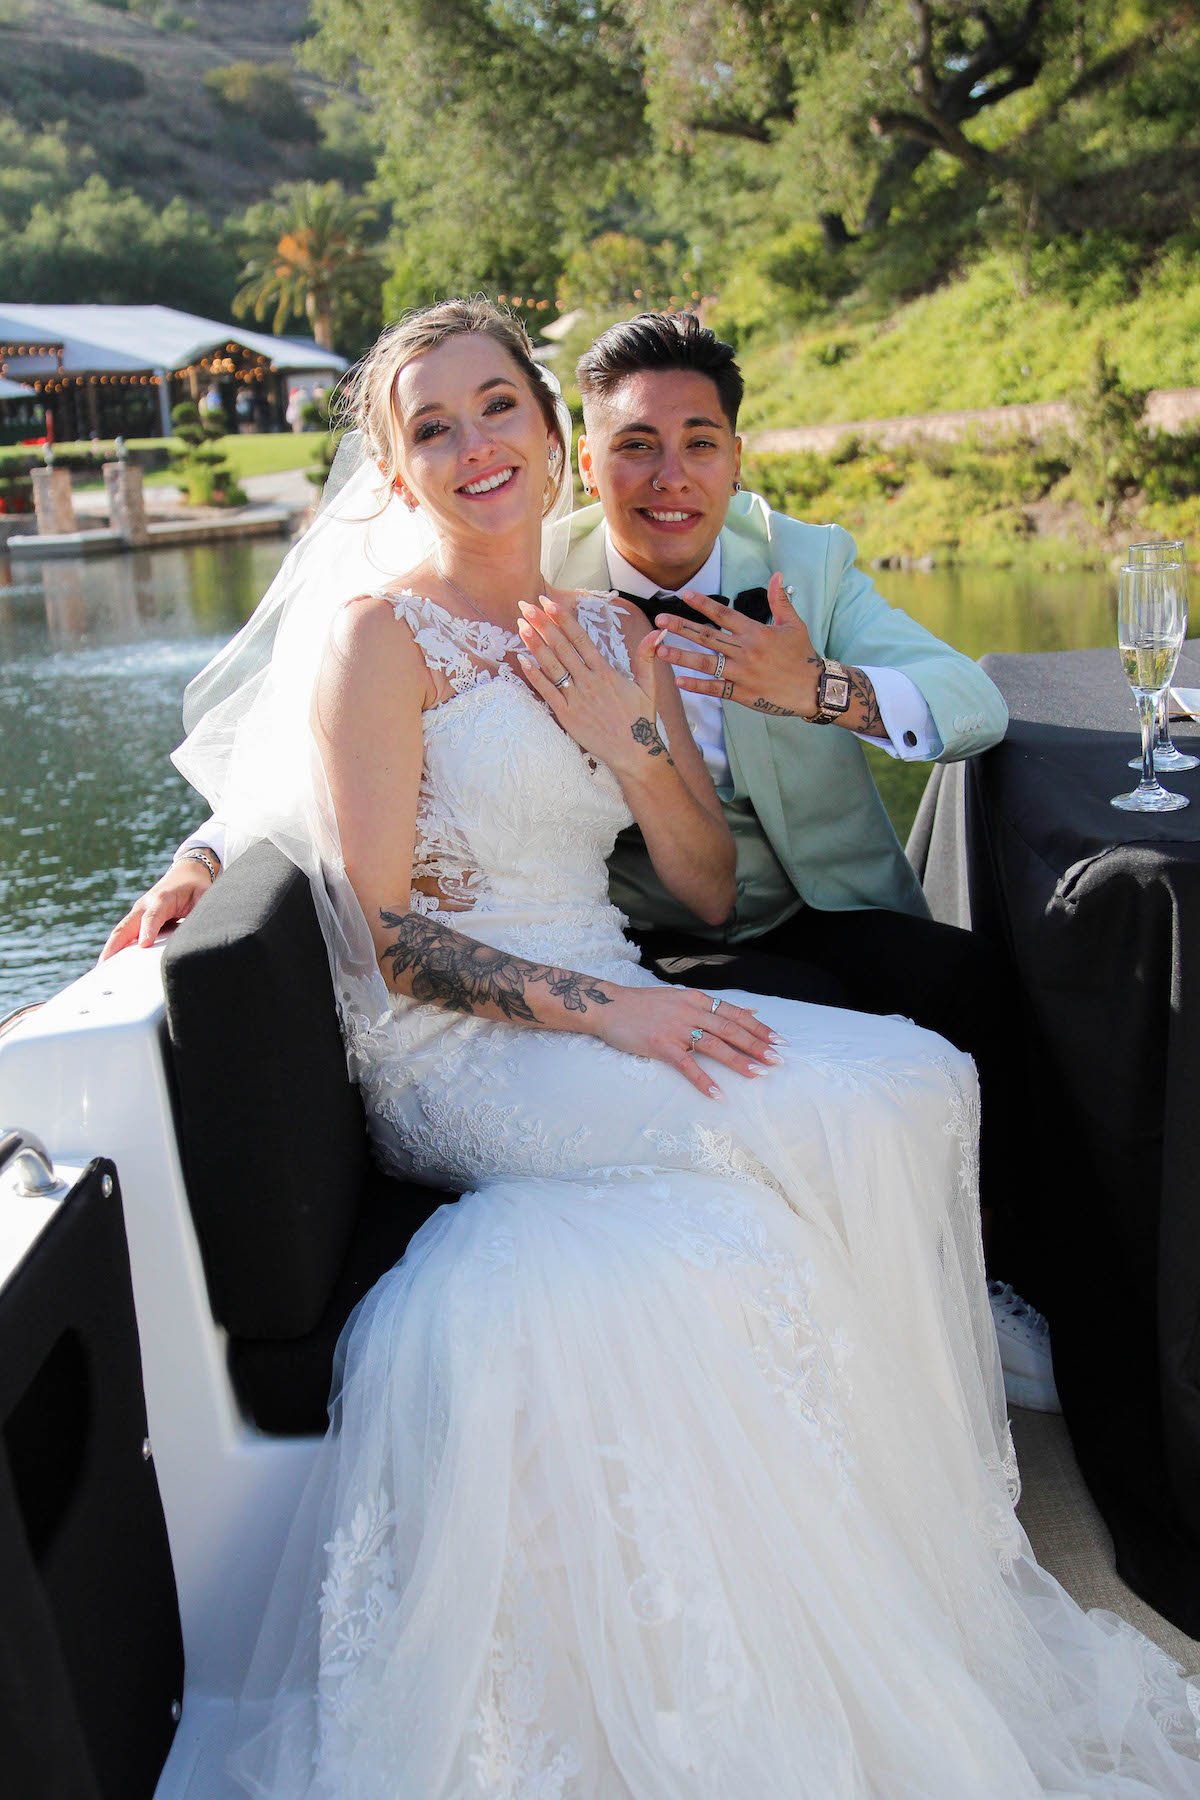
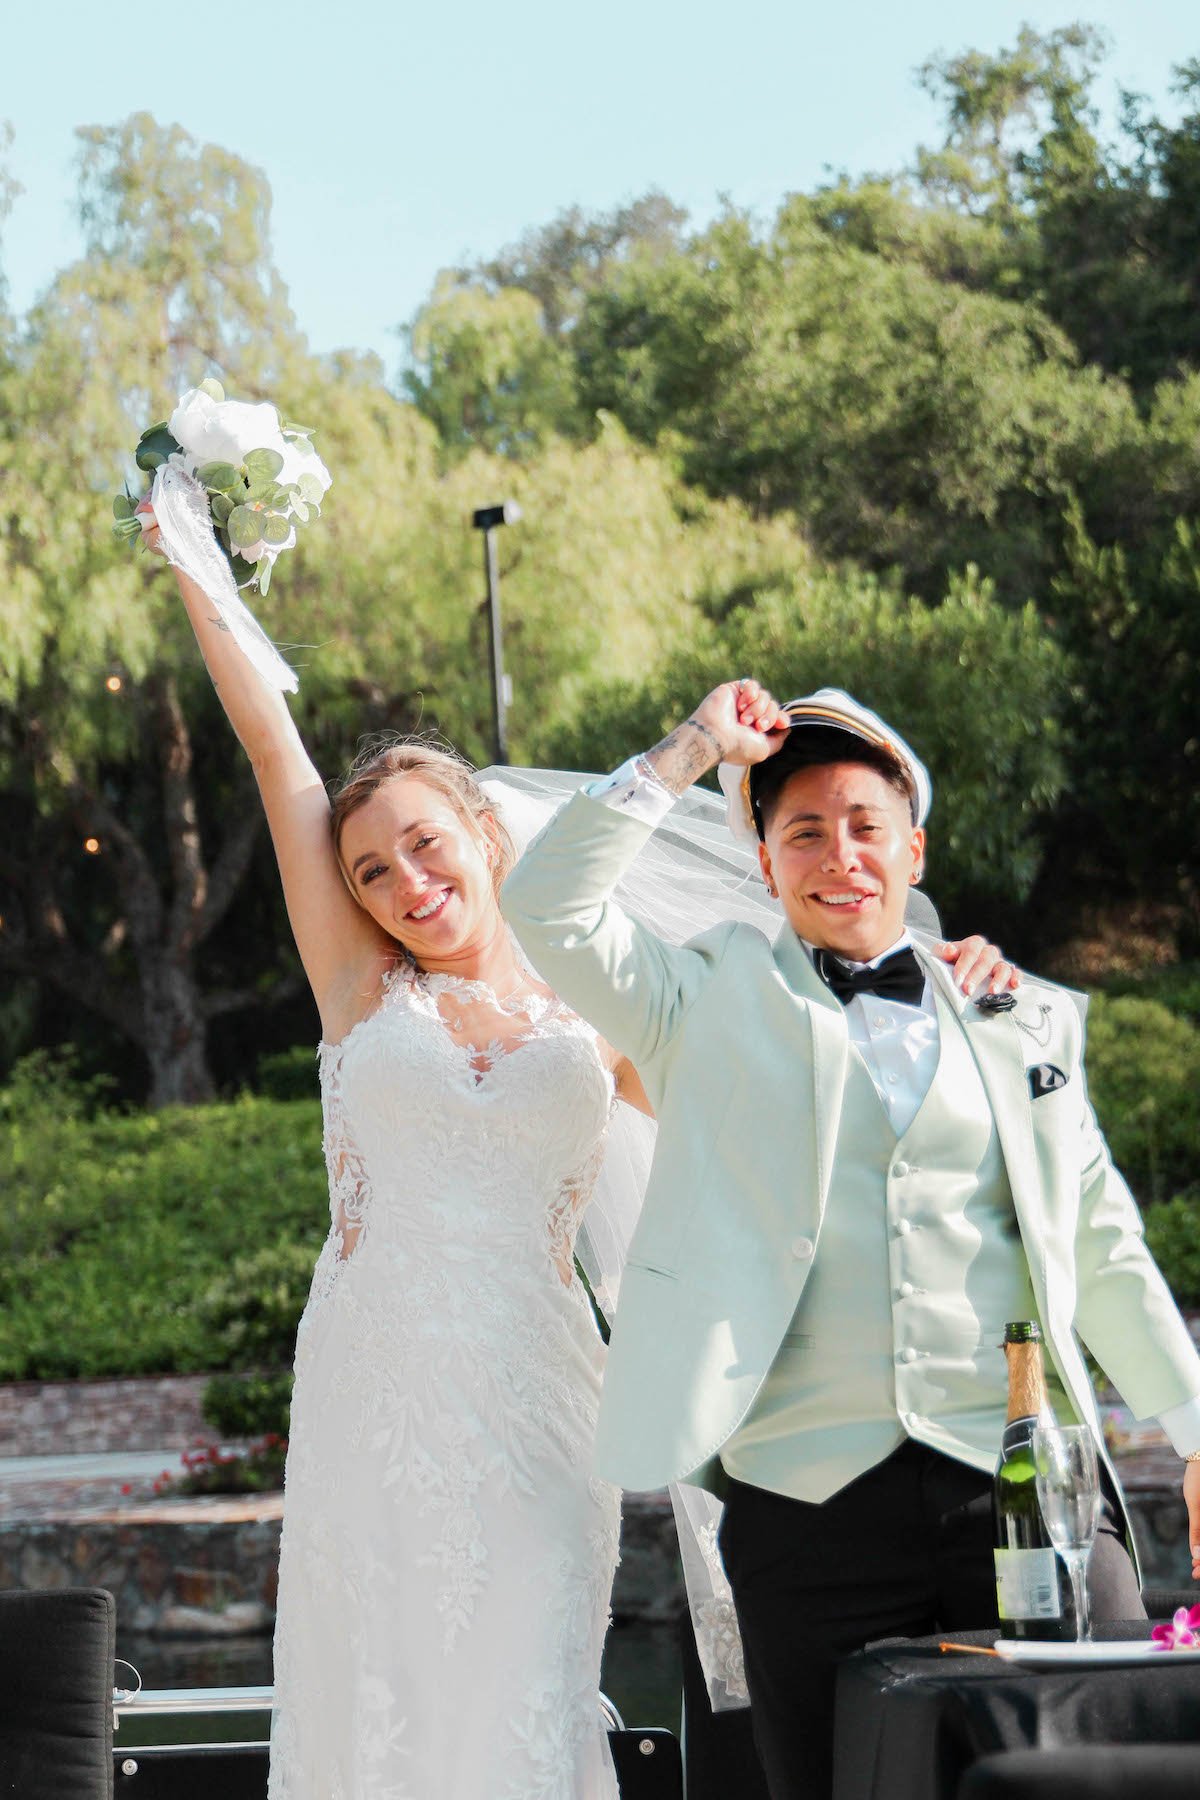
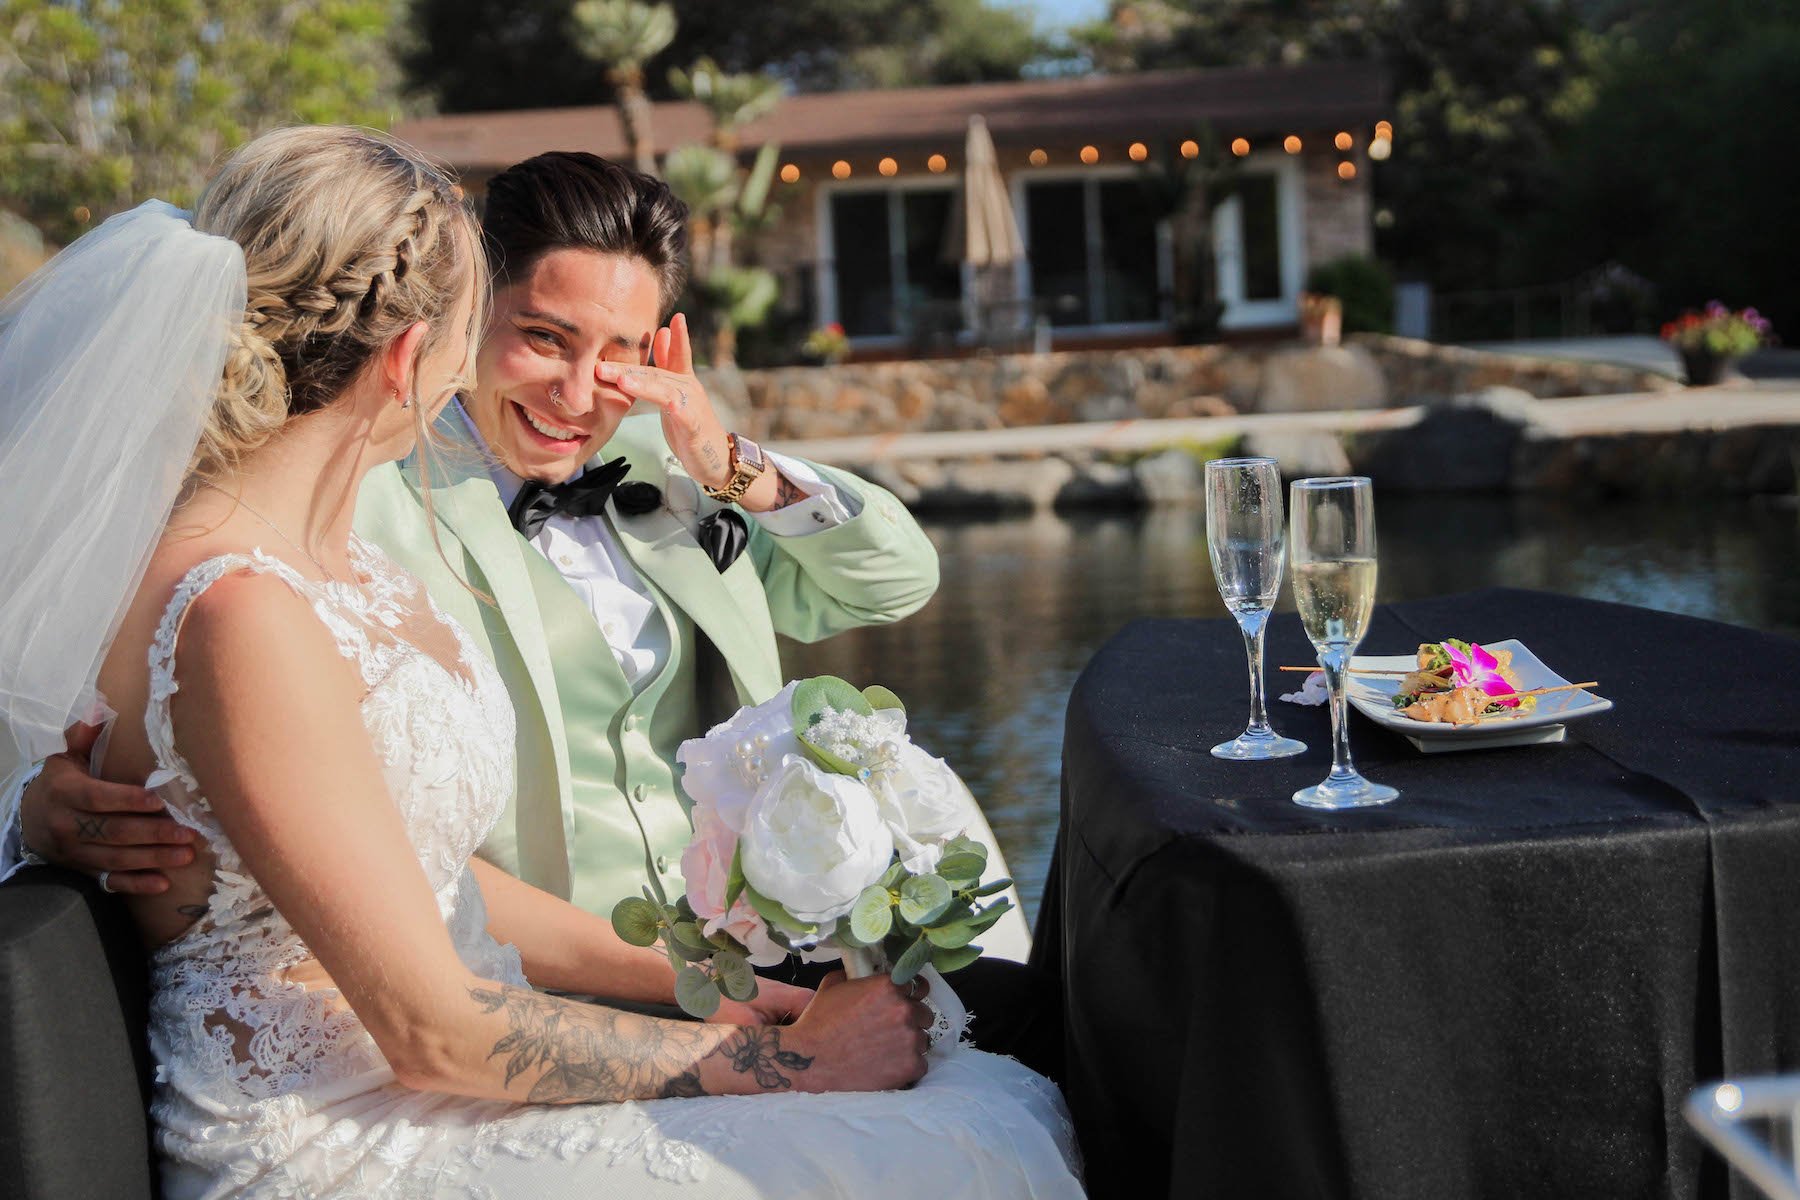
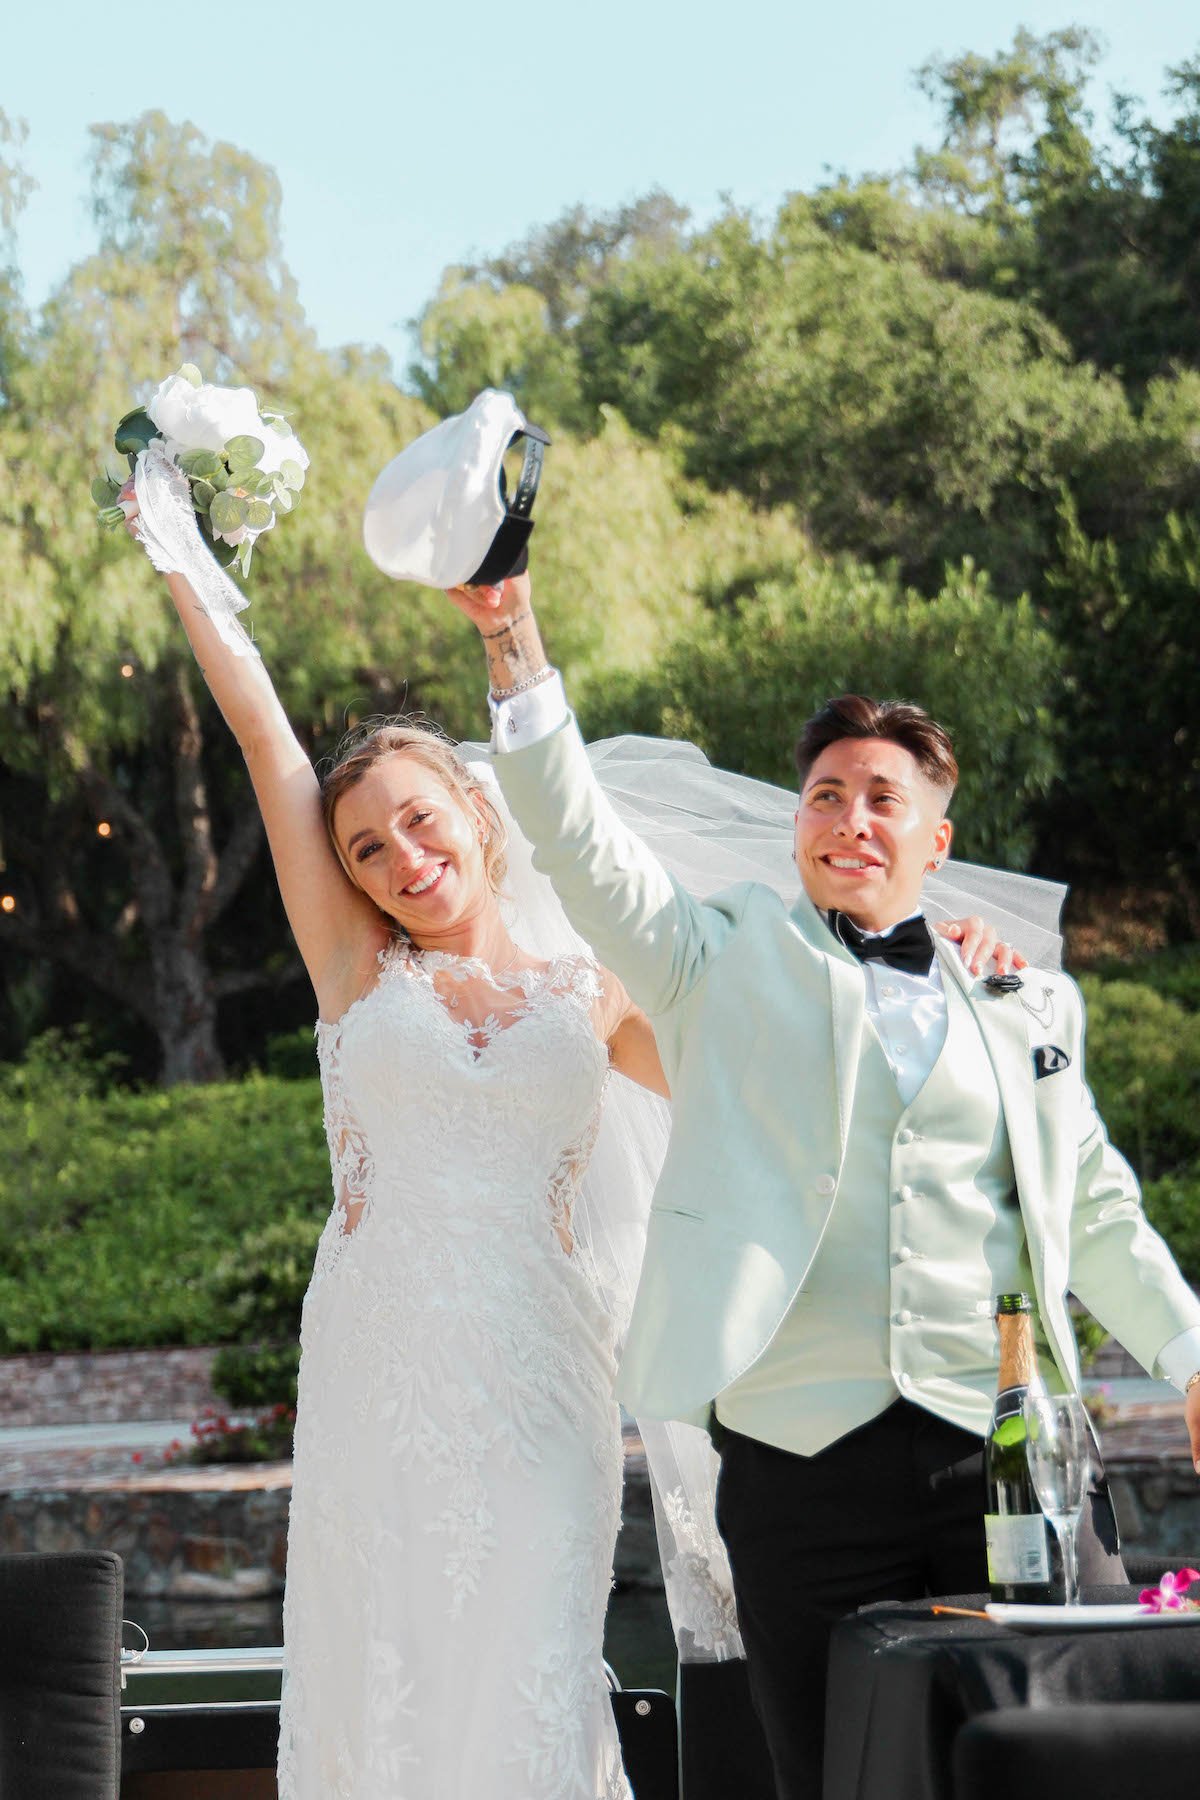
5. Celebrate (Good Times, Come On)
After spending a good part of a day capturing celebration, now is your turn! Time to remind yourself and your team of the work you put in for a job well-done. Culling, editing, and packaging the photographs is still to come, but relax! Reflect back on all the steps it took for your clients, the other vendors, and yourself to work on this wedding event, the epitome of appreciating the beauty human connection. Have a drink, indulge in your favorite pastime (ex.: a good Johnny Depp movie will do me in every time lol), go to Disneyland...? (That's what I did afterward but more on that in a future blog post!) The point is, all parties involved have juggled so many different aspects of their life—school, additional jobs, social life, etc.—to come together, especially for a destination wedding, so take a breather and rest! I realized while celebrating with my second shooter and best friend following the wedding that it was the first time in four months we were able to exist as just two people who care about each other instead of planning for the wedding, moving in together, and other business-y tasks. Life can get hectic, so appreciate the small periods when you can regroup.
Photos by Kayla Cook & Andrew Hughes
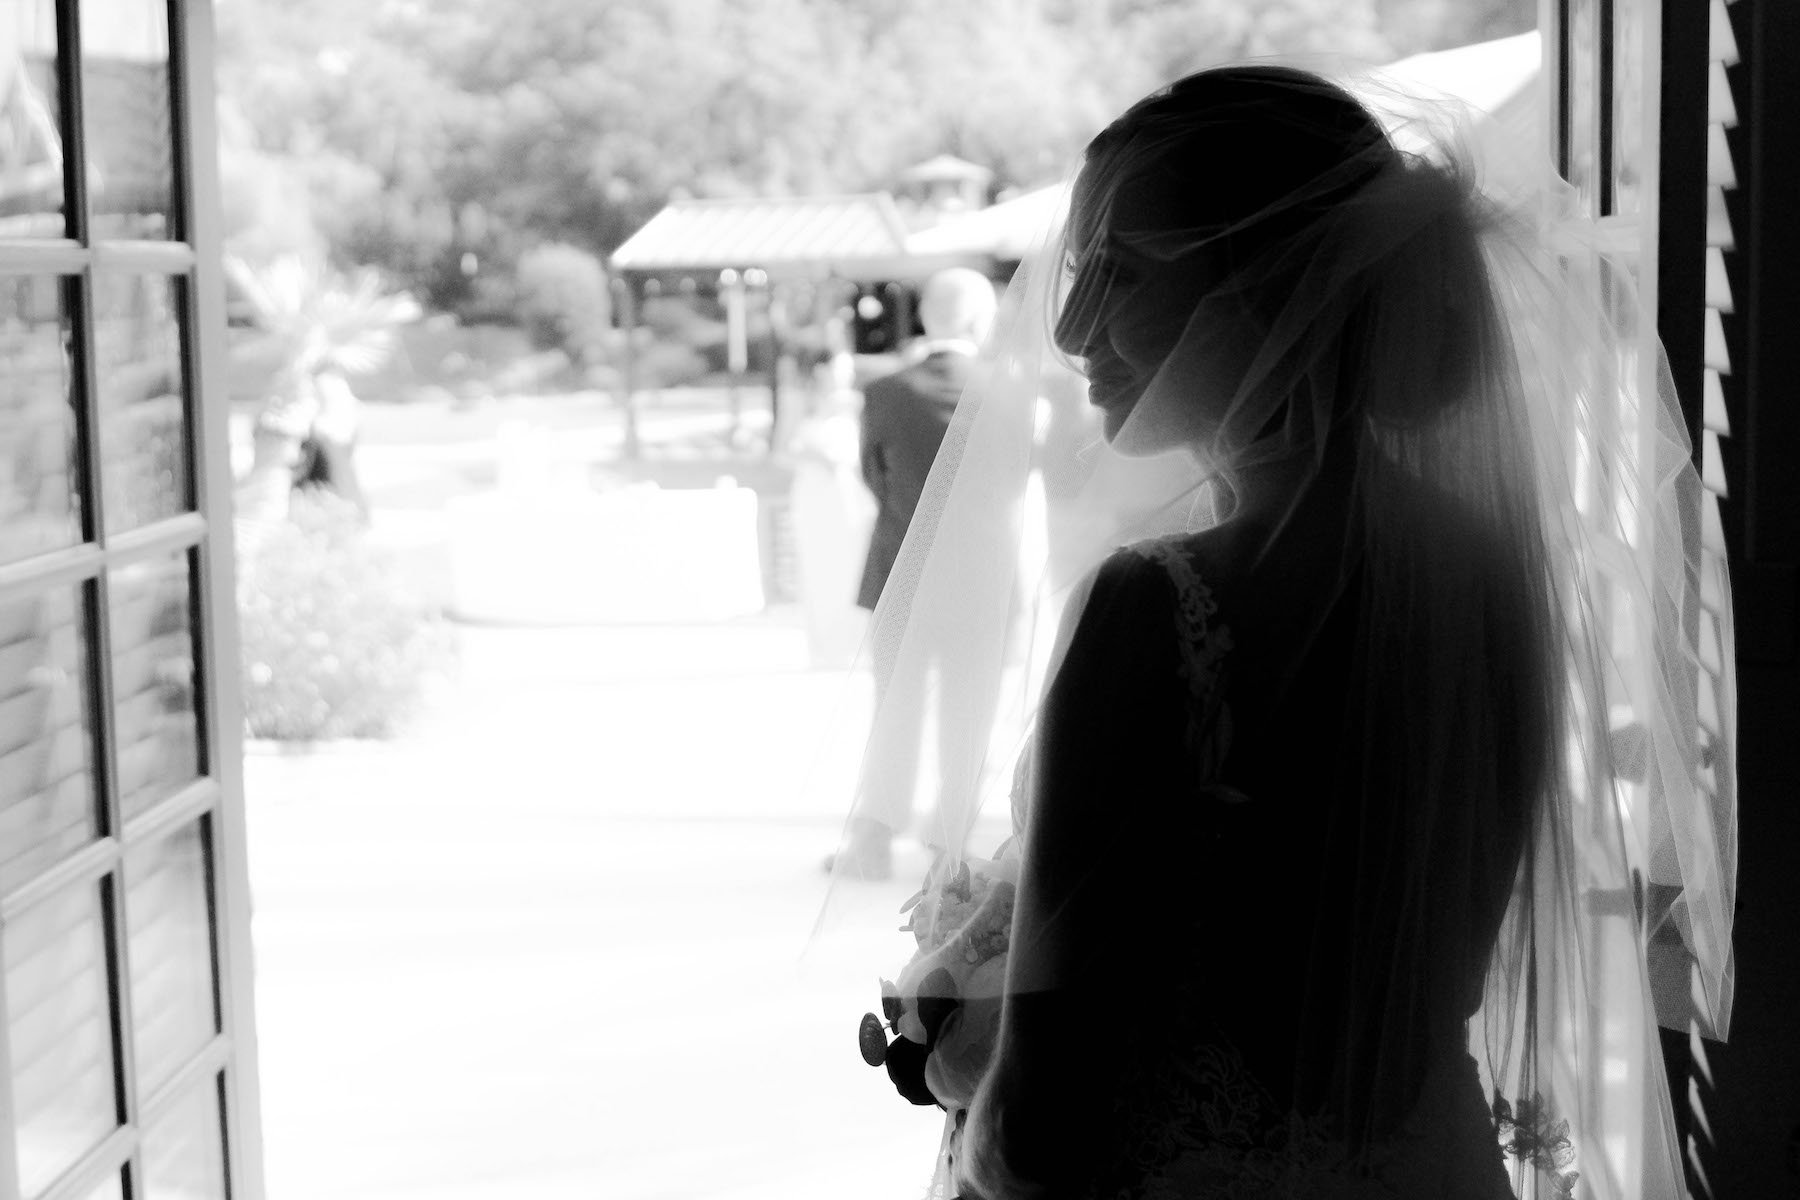
A Note on Editing
You’re probably thinking, “But I edit photos all of the time! It will be fine!” It will be fine, but you should form a plan of efficiency as editing large event photos is a whole different kind of task. You will have thousands of photos to go through—literally thousands—so prepare for that! Go about your editing process in a way that works best for you, however, ensure to allot significantly more time to cull through the large quantity of photos you garnered from such a big event. Typically, I like to upload all photos then narrow down the photos into my top picks in a new folder. This narrowing down process happens multiple times. Sometimes an image is cut even after a final edit.
I painstakingly review raw photos. The beauty of digital photography is having so many options! However, this can be a downside if you find yourself overwhelmed by the amount of images you have to review. Film photography is beautiful in the sense that “you got what you got” with a set number of images you can capture whereas memory cards allow for so many images. For an event like a wedding, having multiple options is great as you can capture more artful, staged images in addition to the candid, “snapshot” photos which, sometimes, are ultimately more valued by your clients.
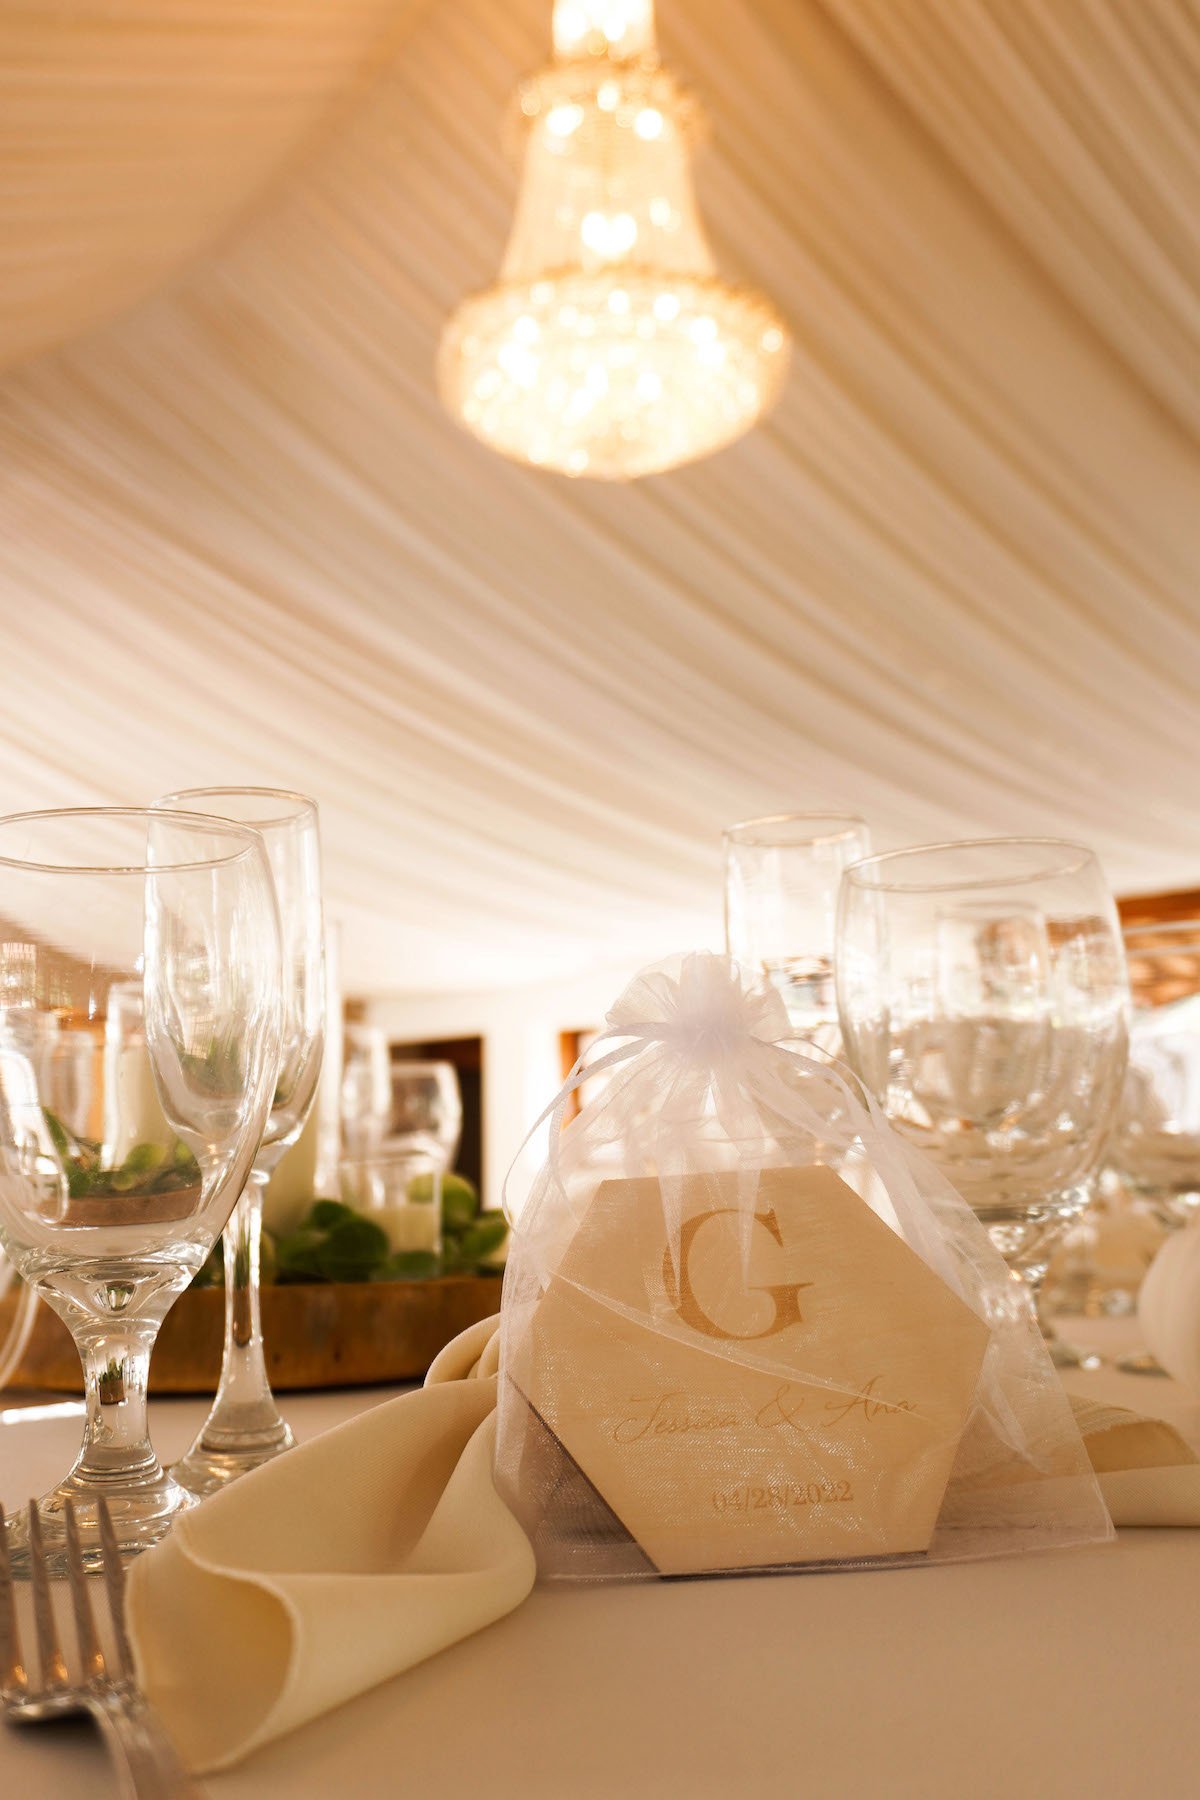
I studied Creative Writing during undergrad so I tend to focus on the storytelling in all of my hobbies, and photography is no different. Down to the order the images are presented in, you have the power to inform your audience on how the collection goes together, how one image informs the next. I like to call this process “packaging” because you are “tying the bow on your edits” before "shipping them off.” Think about when you receive a gift. It’s great to be thought of in the first place, but there is something heartwarming about knowing the extra time and effort that someone put into stylizing the gift just for you. I share my photos with clients via Google Drive, so if I plan to share a large quantity of images as I did in this case, I organize the photos into separate folders (ex.: bridal suite, ceremony, group photos, newlywed photos, venue, and reception.) Again, I like the storytelling aspect, and it makes it easier for your client to know exactly what to expect.
In terms of the actual elements of editing, I prefer color grading that is true-to-life but enhanced. All photographers value different kinds of edits as all photographers have different kinds of artistic visions. Although I love experimenting, with events like a wedding, I usually lean into an edit that feels timeless, that can live in a photo album of any era (should prints be made), beyond the fleeting life of a social media post.
You’ve done it before. Cull, edit, package. You got it!
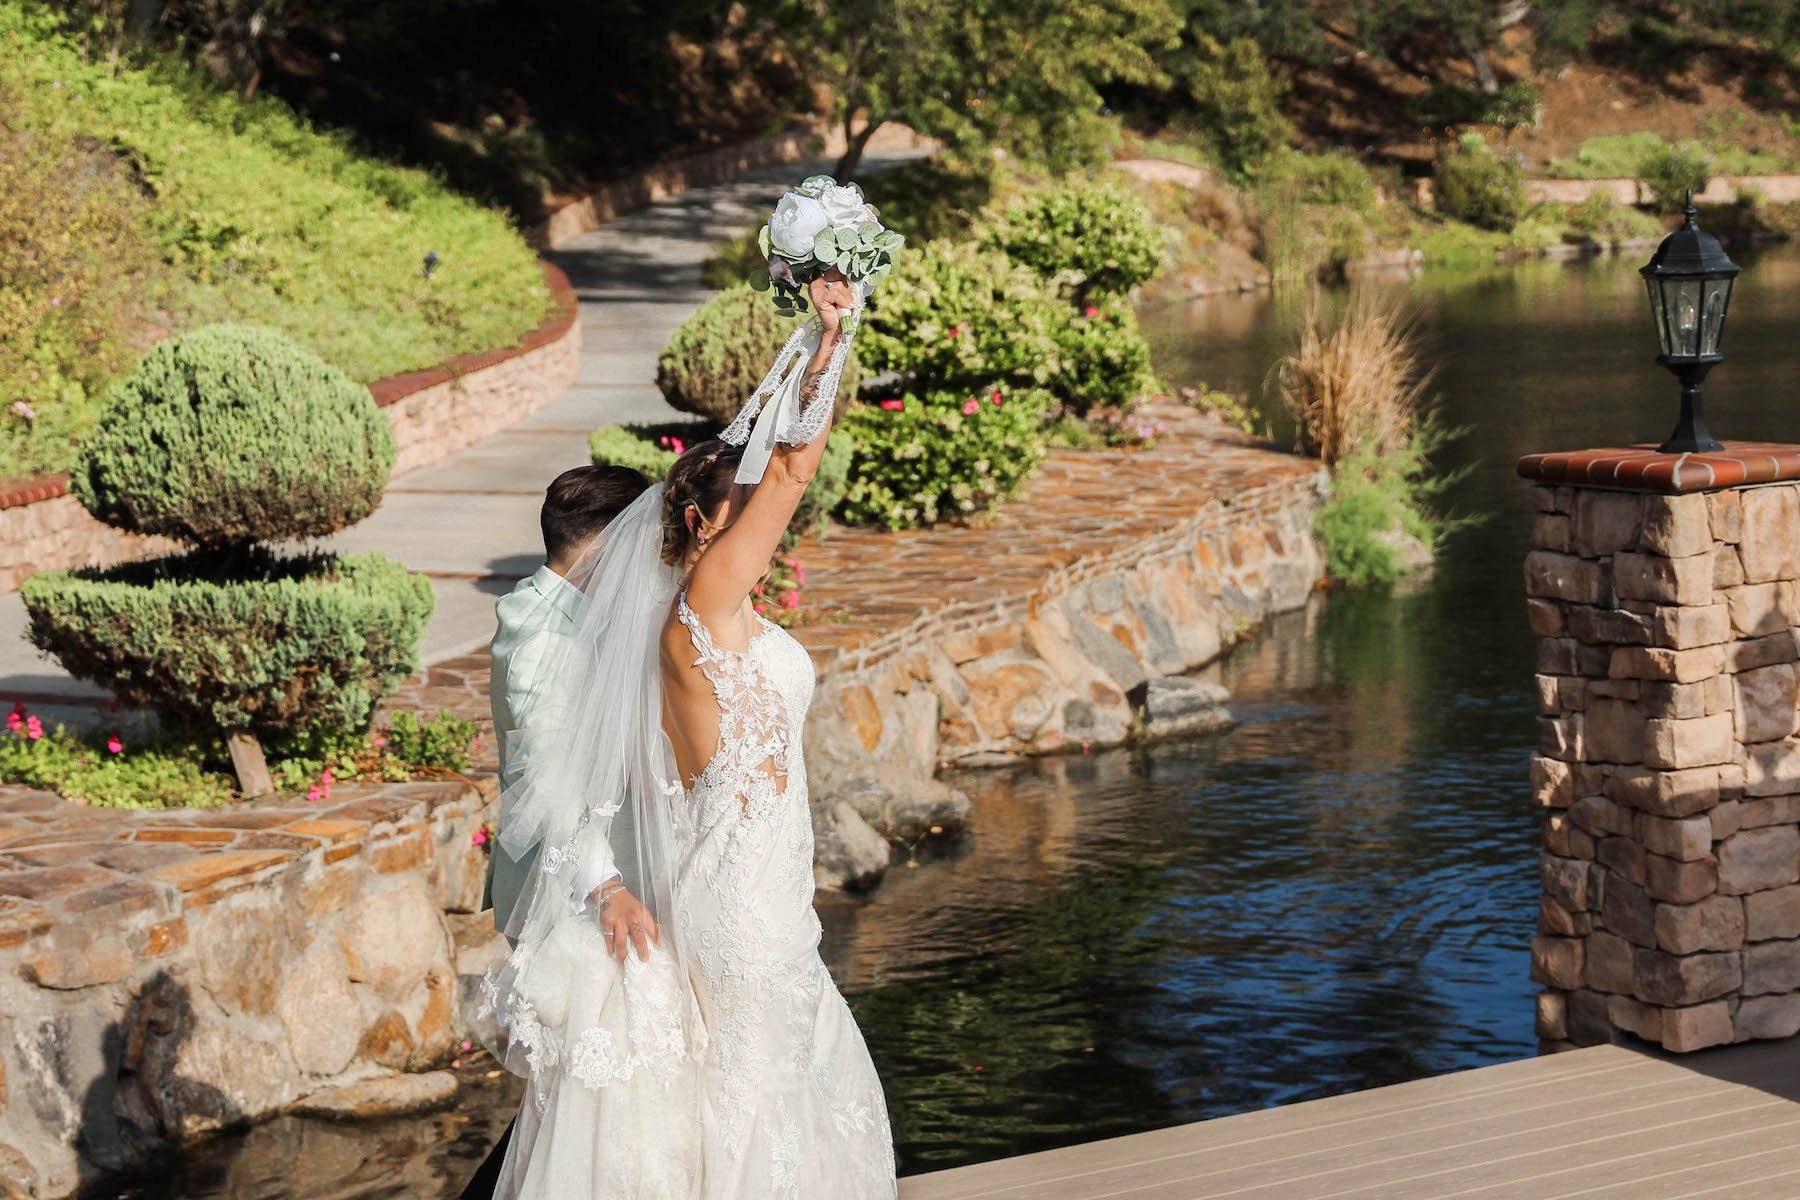
Photos by Kayla Cook
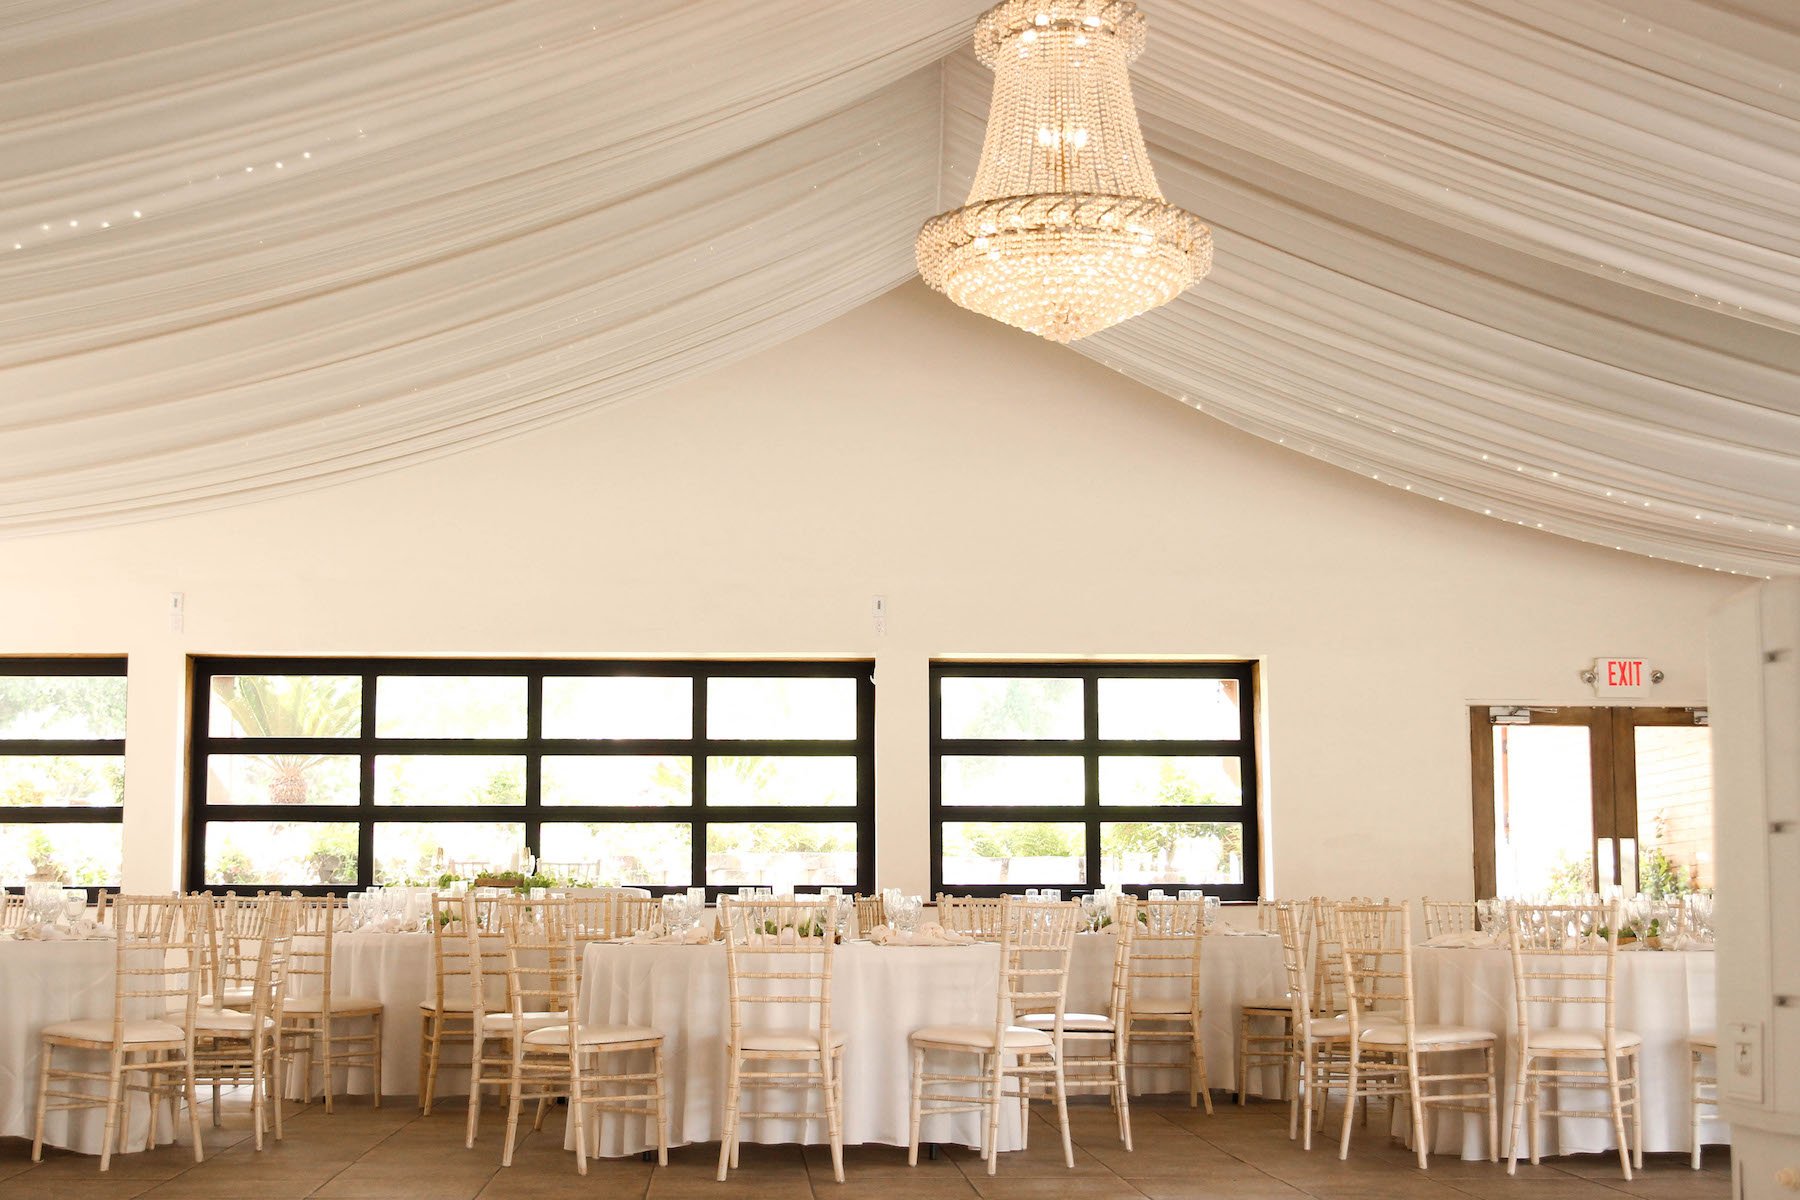
Images taken at Los Willows Private Wedding & Event Estate Venue.
© F&B PHOTOGRAPHY

Photo by Kayla Cook
And there you are—You did it! You captured the warmth. You captured the fun. You captured memories that those in attendance will look back on and cherish. (And you probably have the sudden urge to cue up 27 Dresses. Same.) Keep working hard and keep creating!
- KJC